Connect your agent
Set up Hoaster in Claude Desktop
Add Hoaster as an MCP server and Claude can publish pages, images, and other artifacts to the web for you — and hand you back a public URL — without ever leaving the conversation. Setup takes about a minute and there's no API key or token to copy.
Your MCP server URL
This is the endpoint Claude connects to. You'll paste it once below.
https://hoaster.app/api/mcpAdd Hoaster as a connector
Follow along with the screenshots — it's the same on macOS and Windows.
- 1
Open Settings
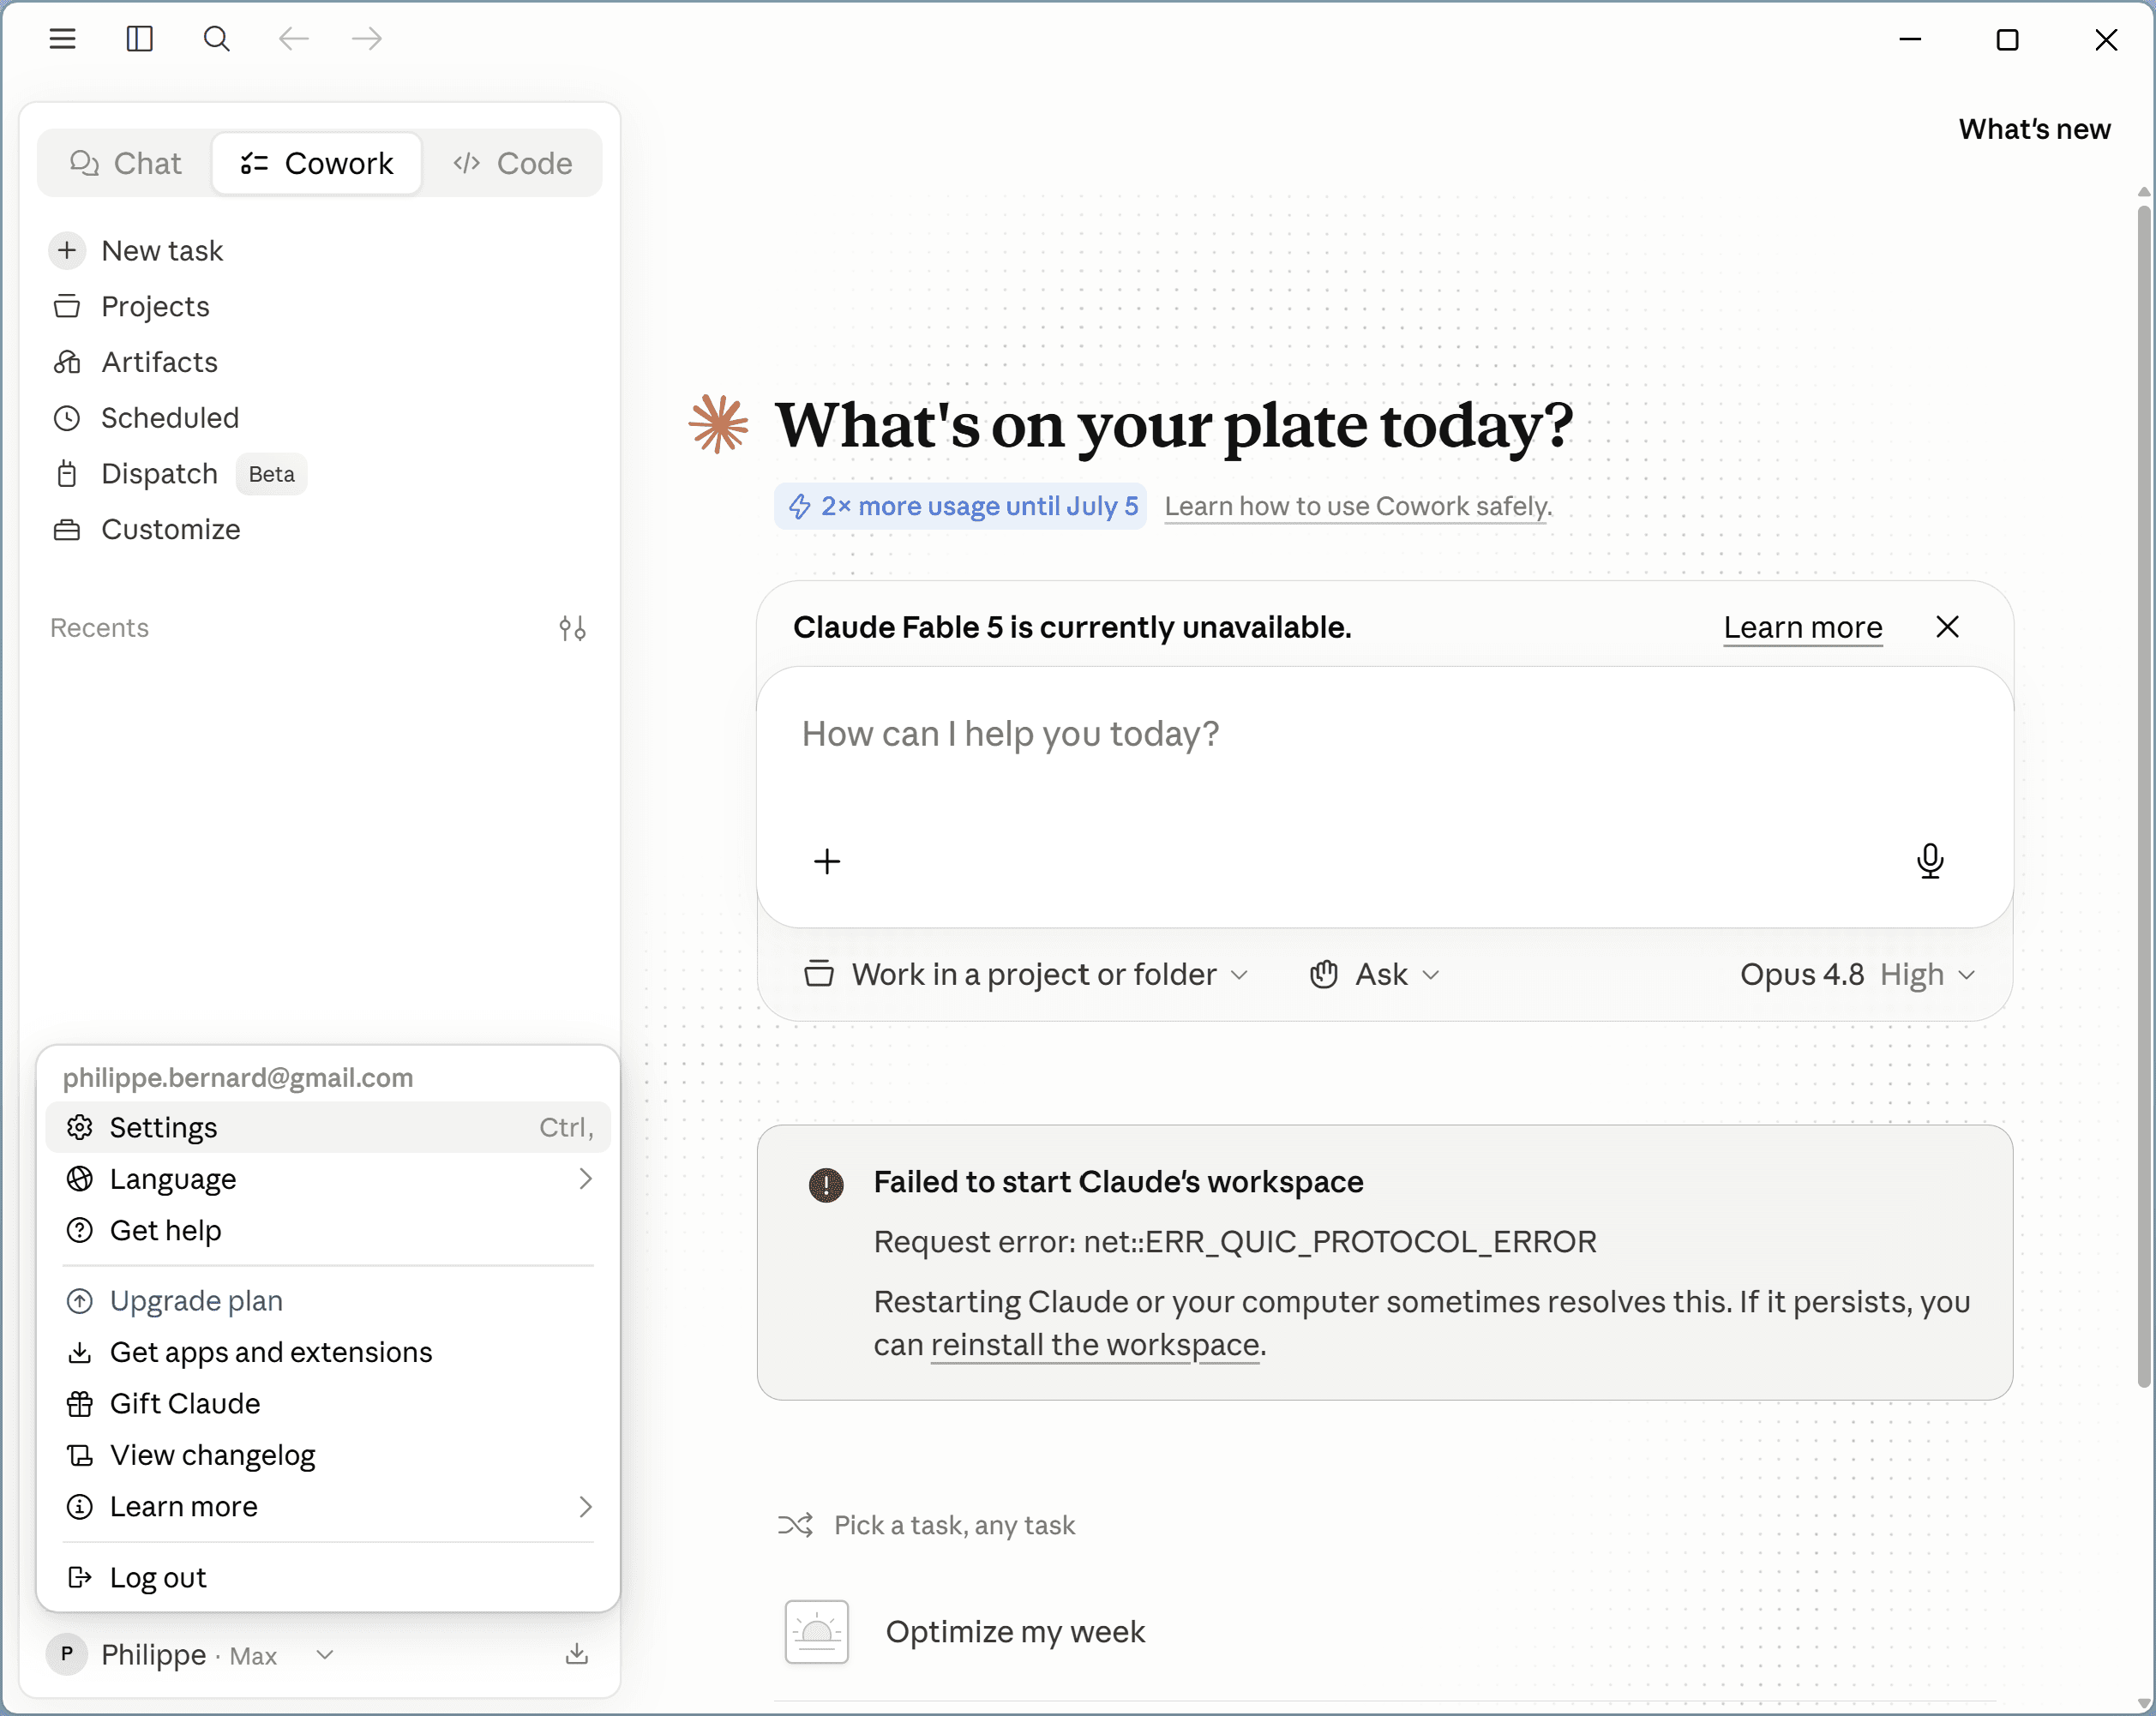
In Claude Desktop, click your name in the bottom-left corner and choose Settings.
- 2
Go to Connectors, then Customize
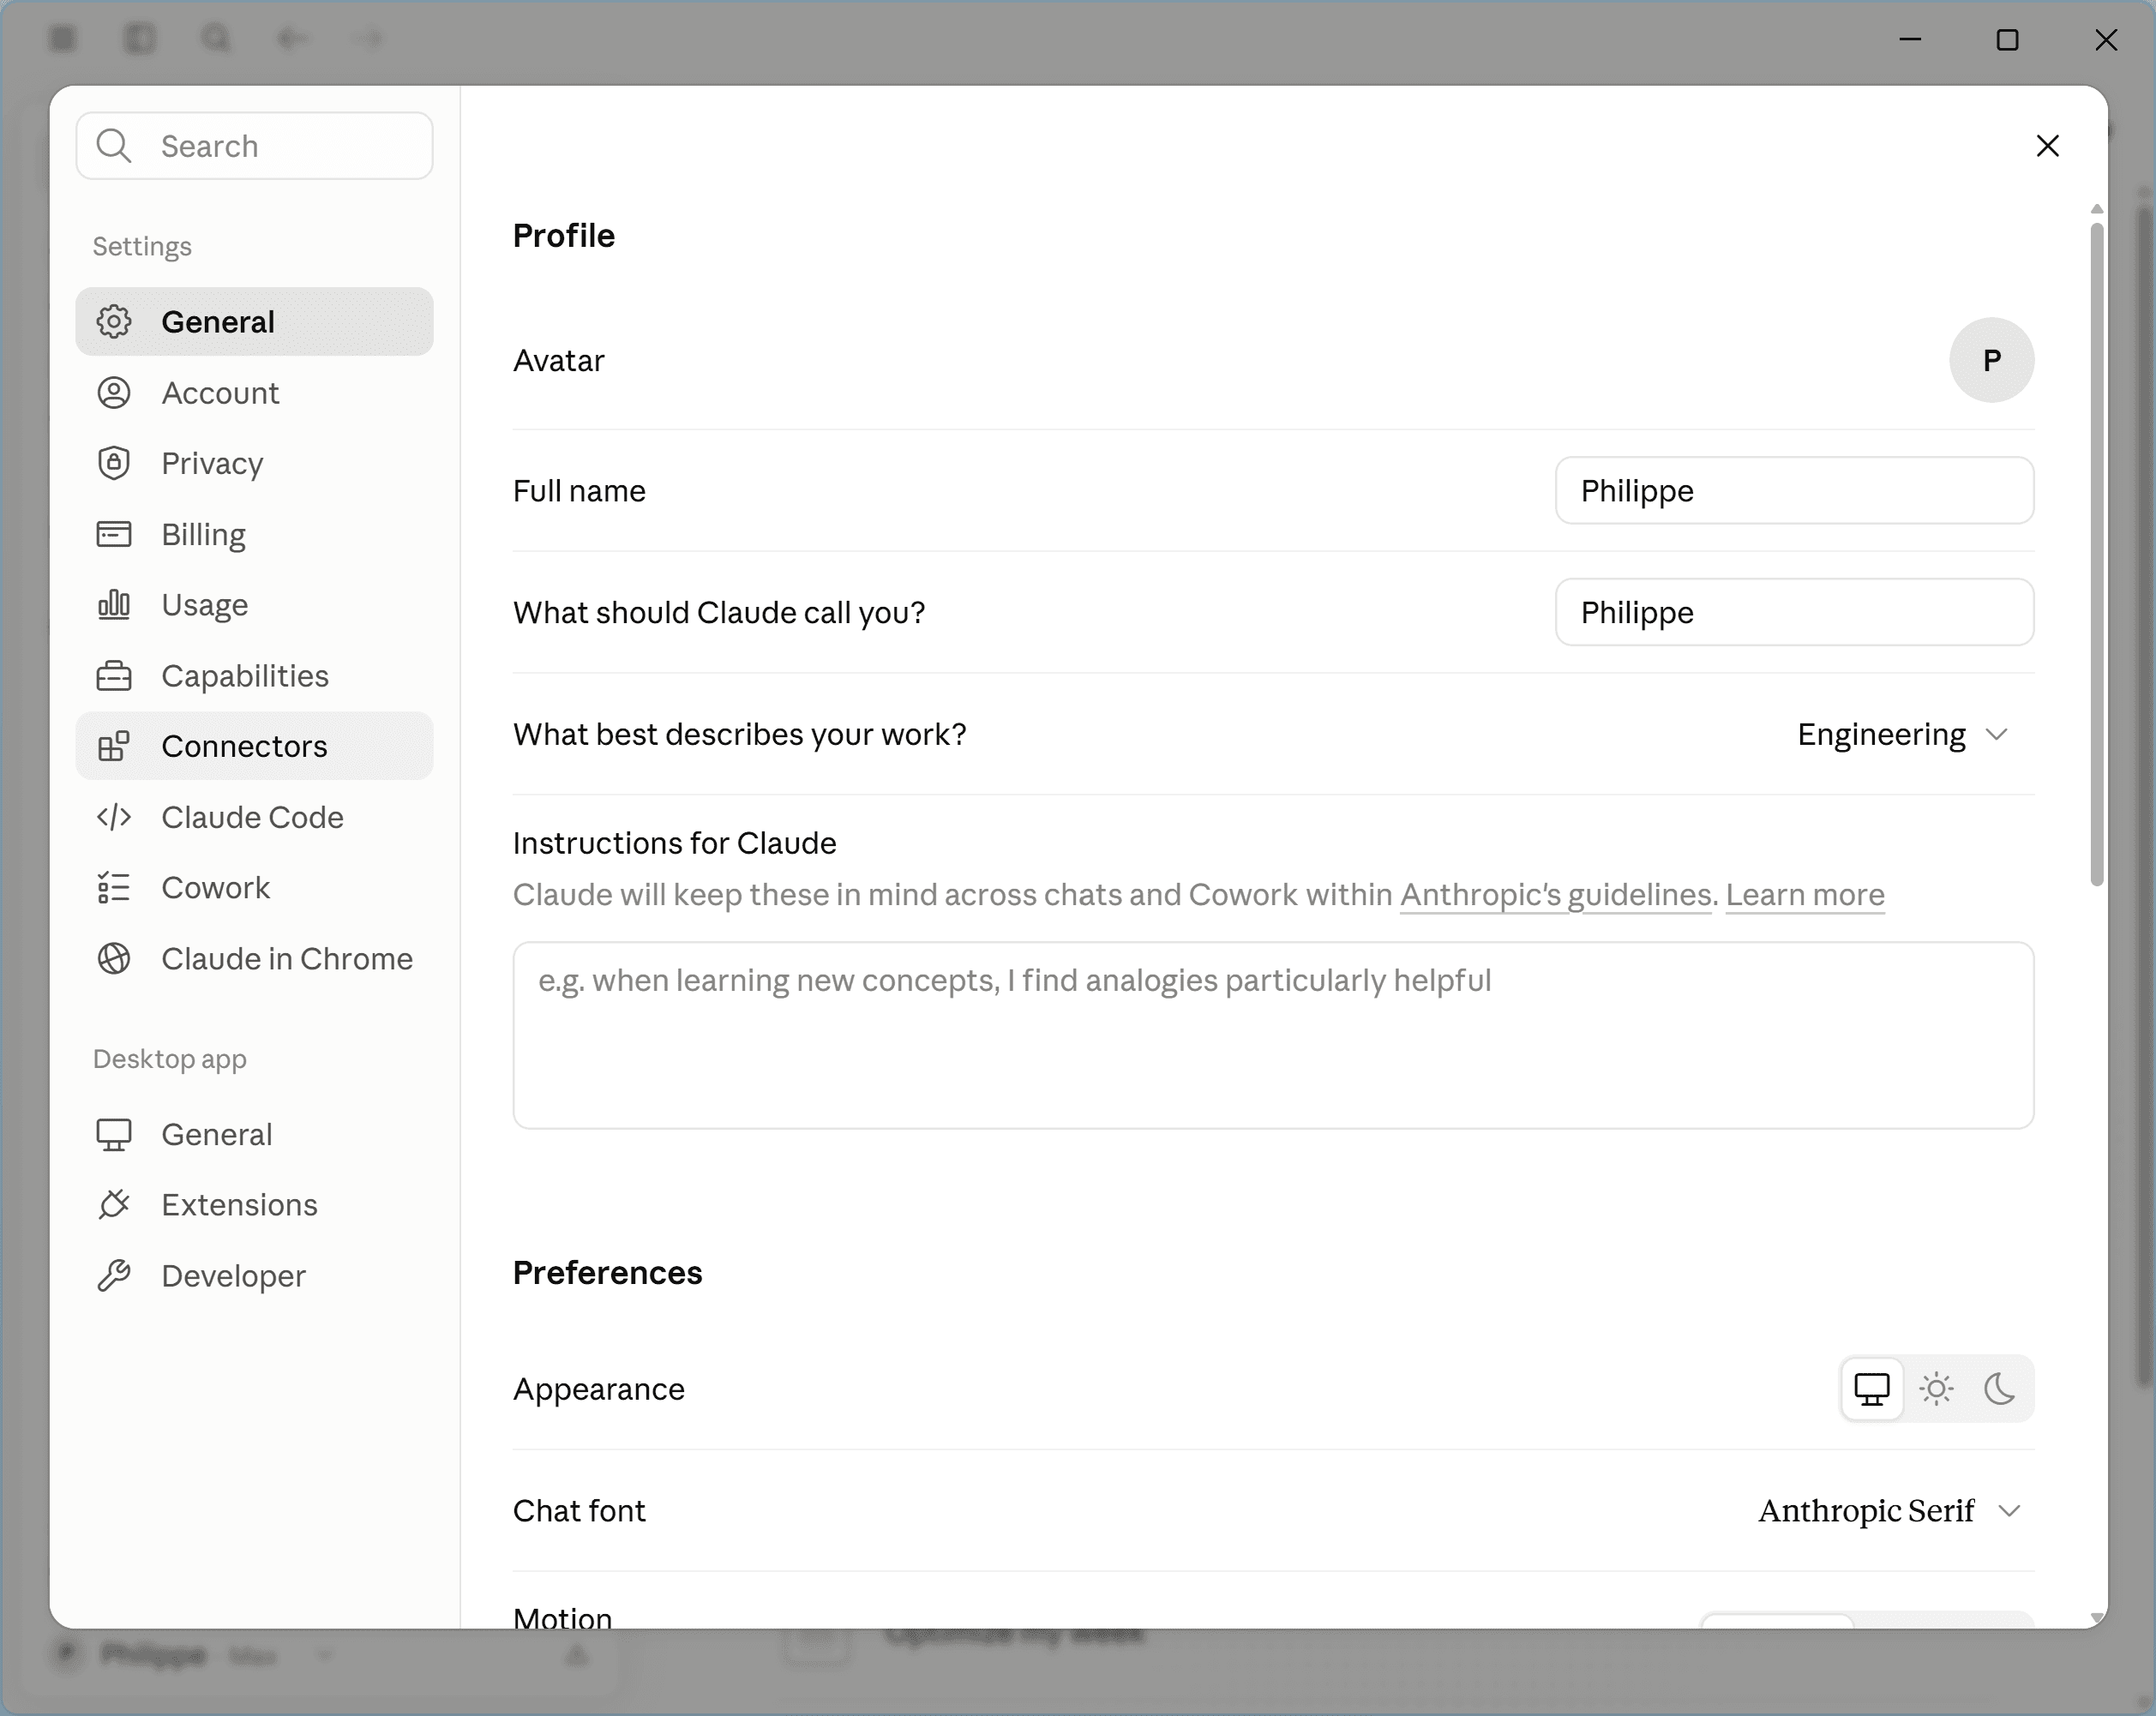
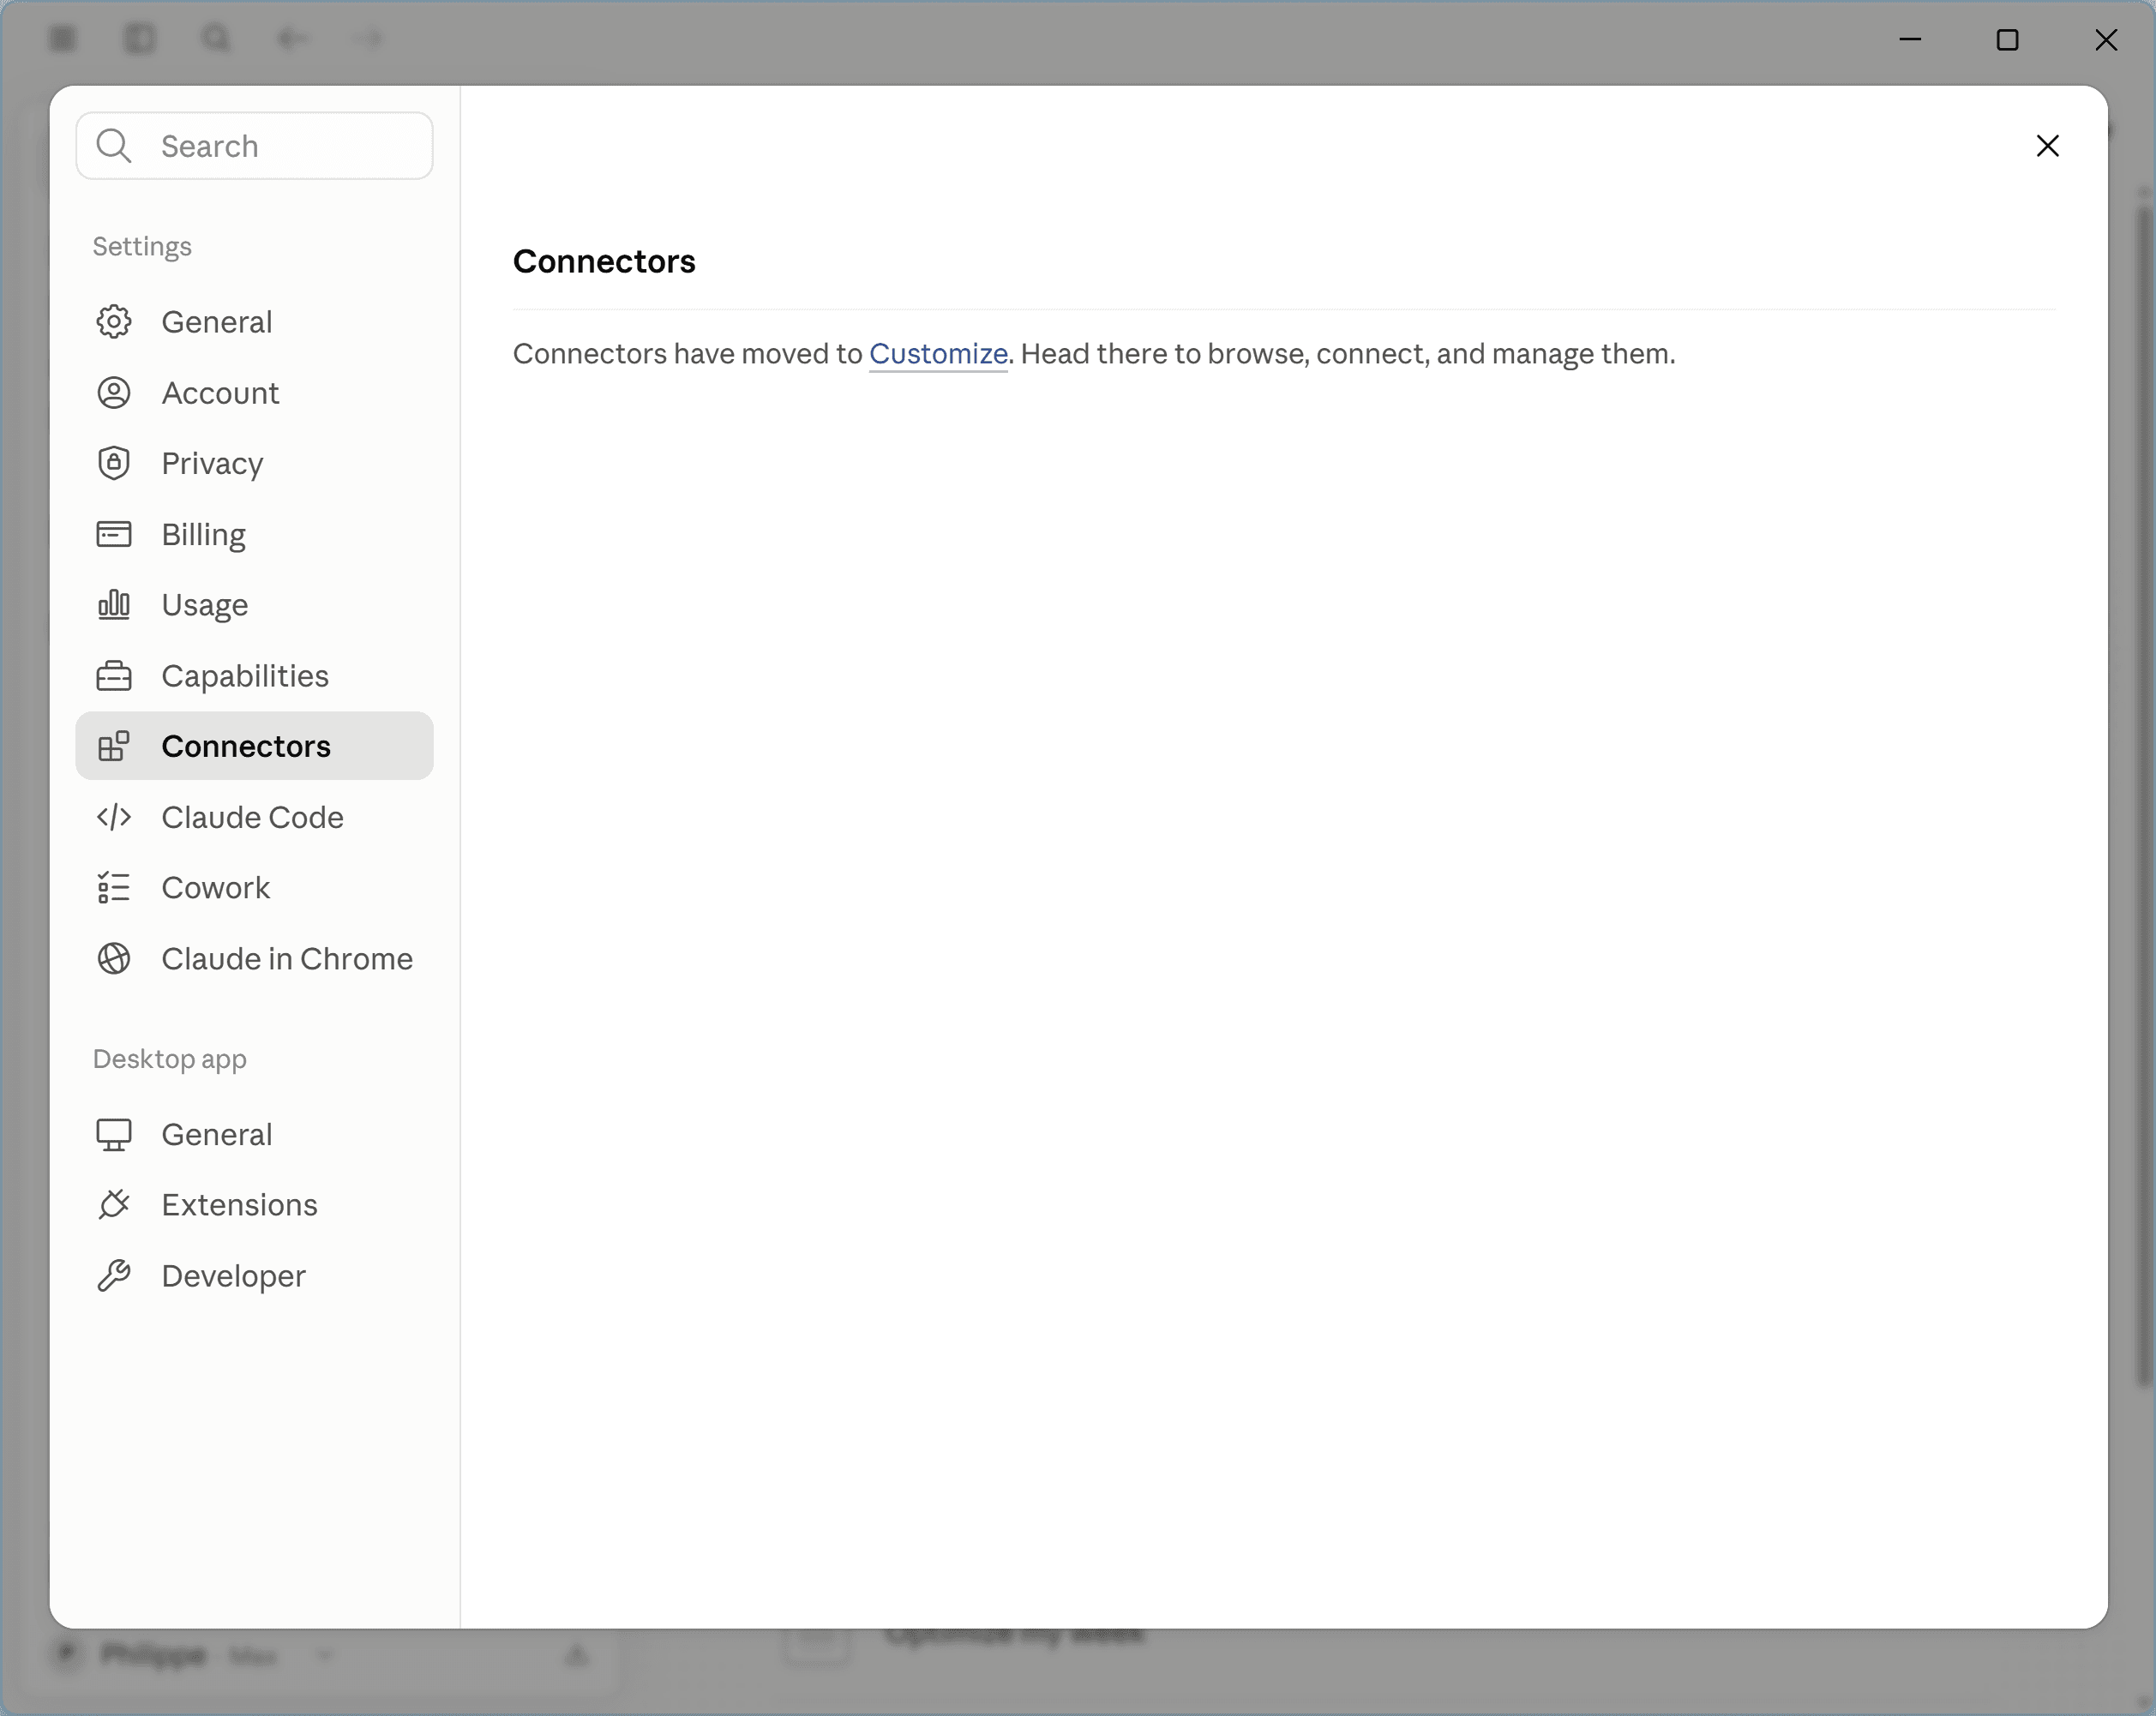
In the Settings sidebar, select Connectors. Connectors now live under Customize — click the Customize link to open them.
- 3
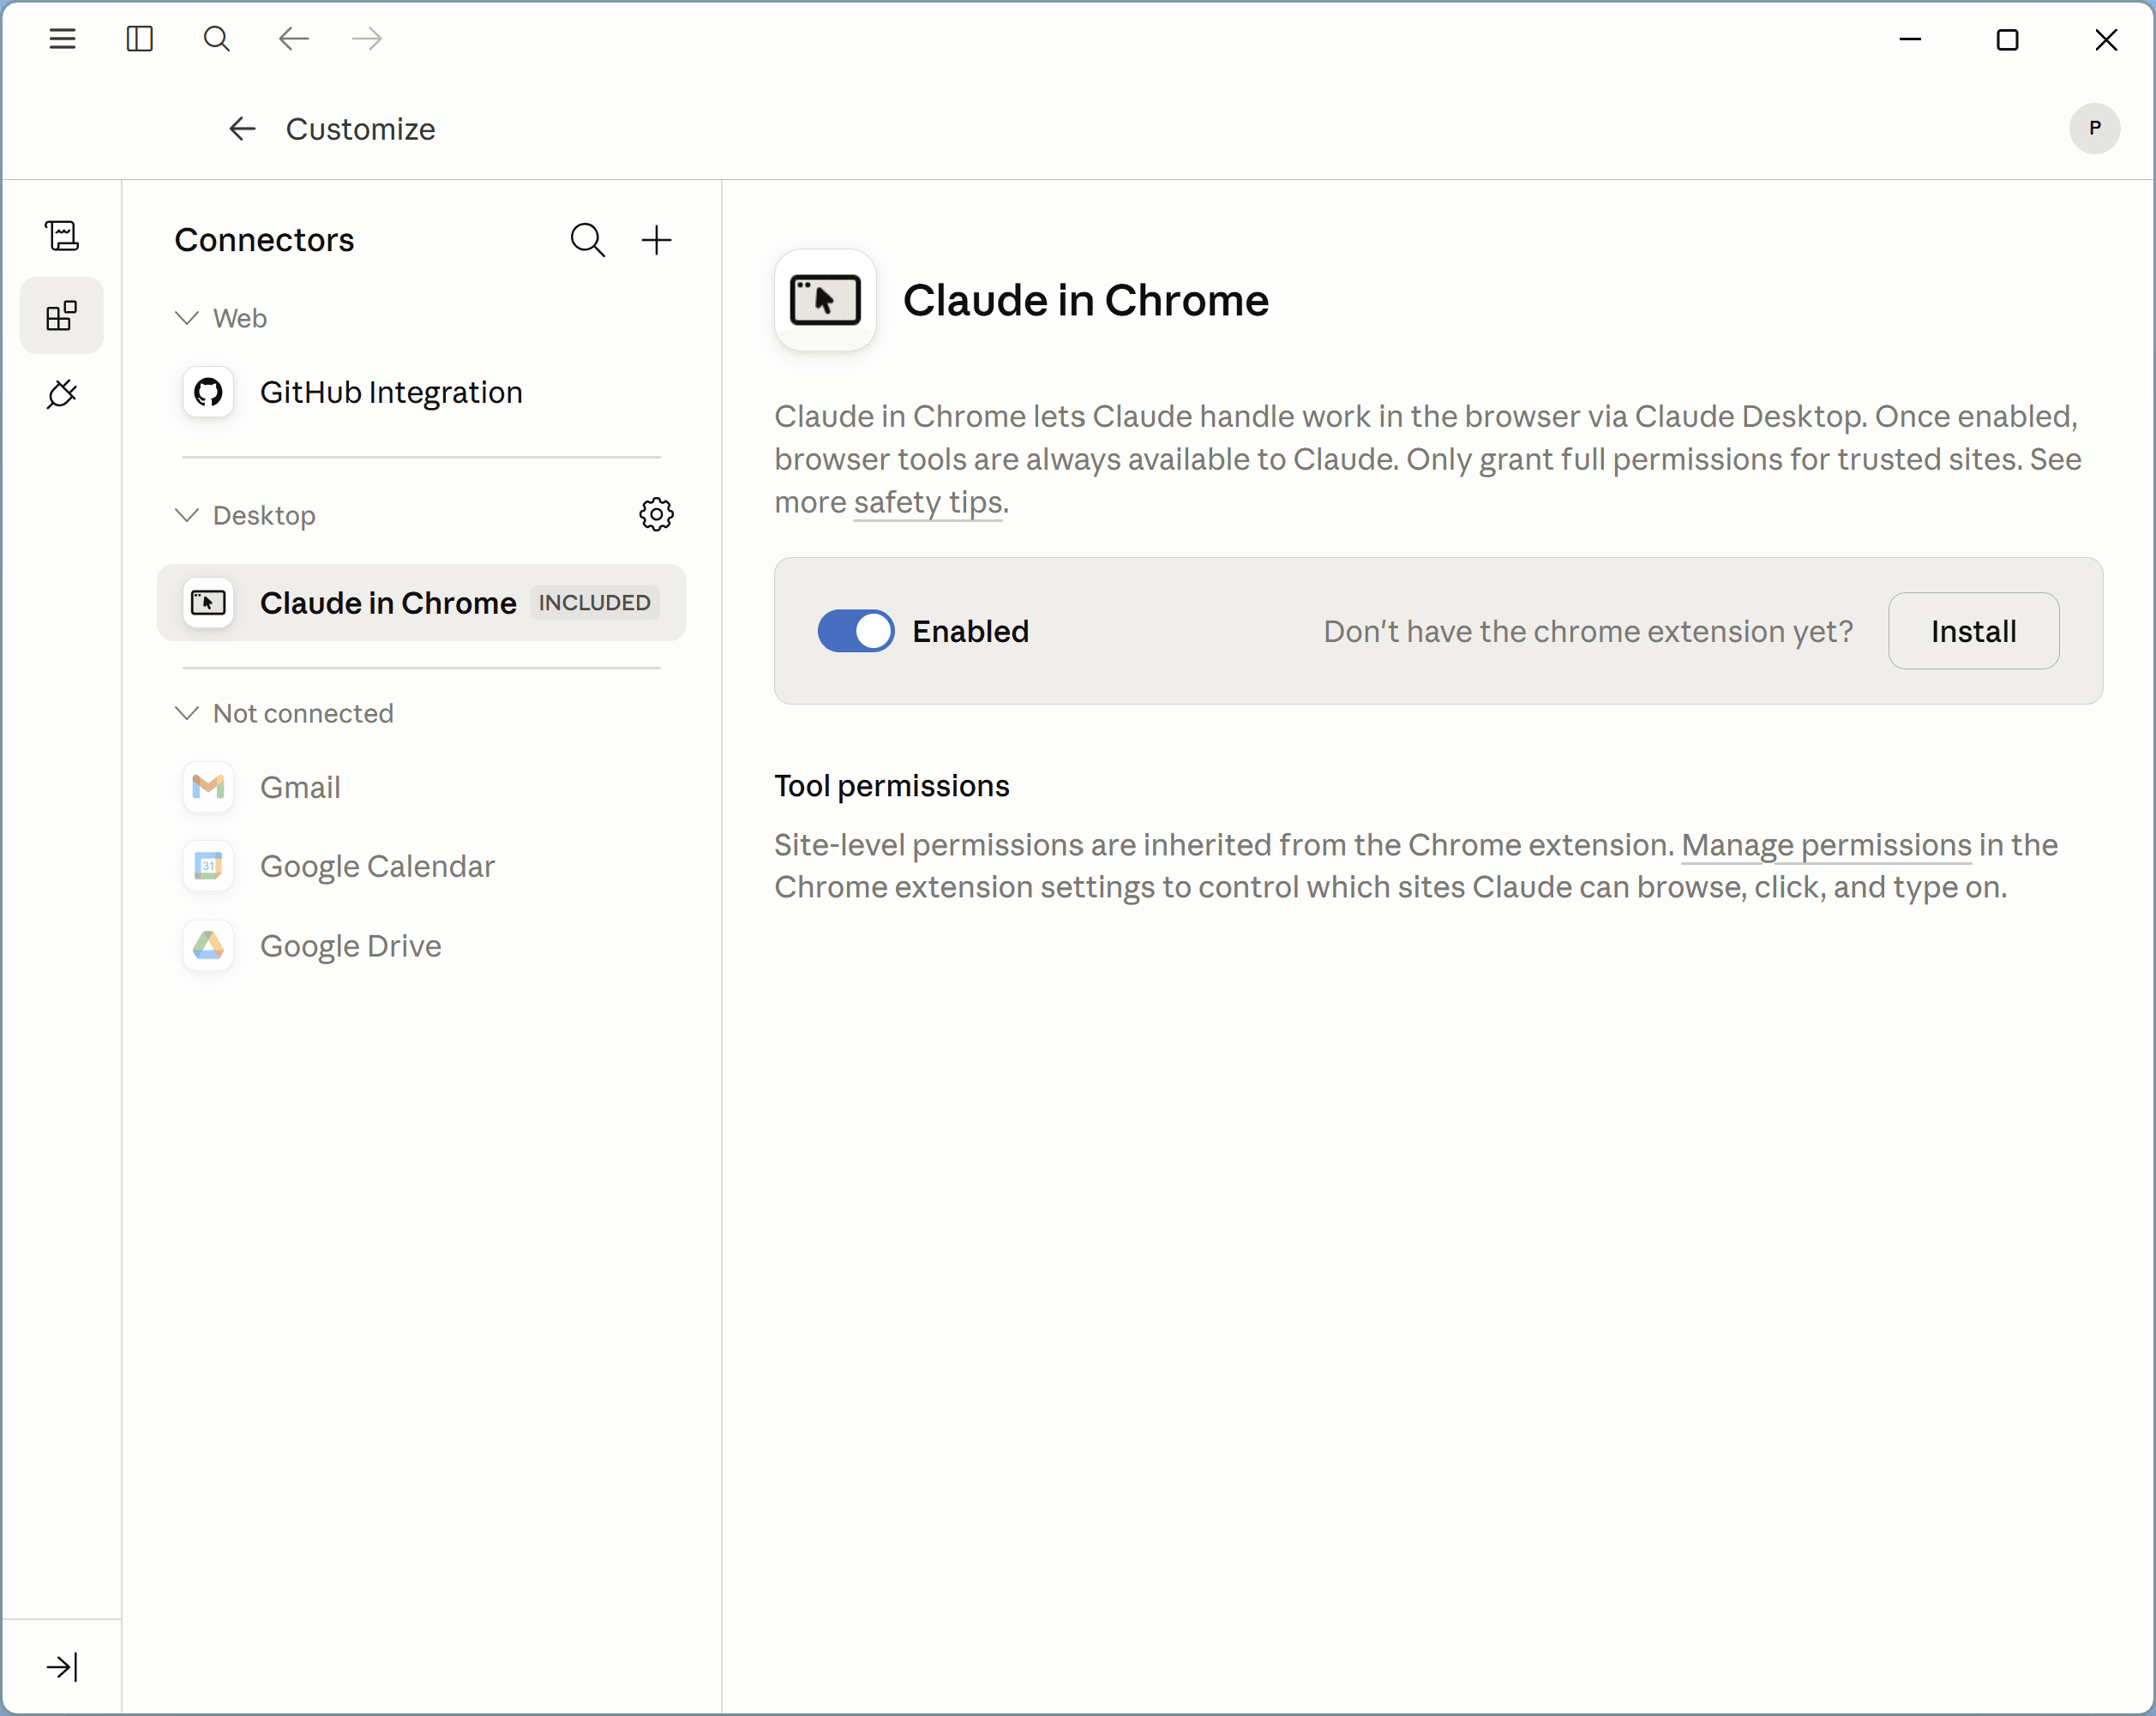
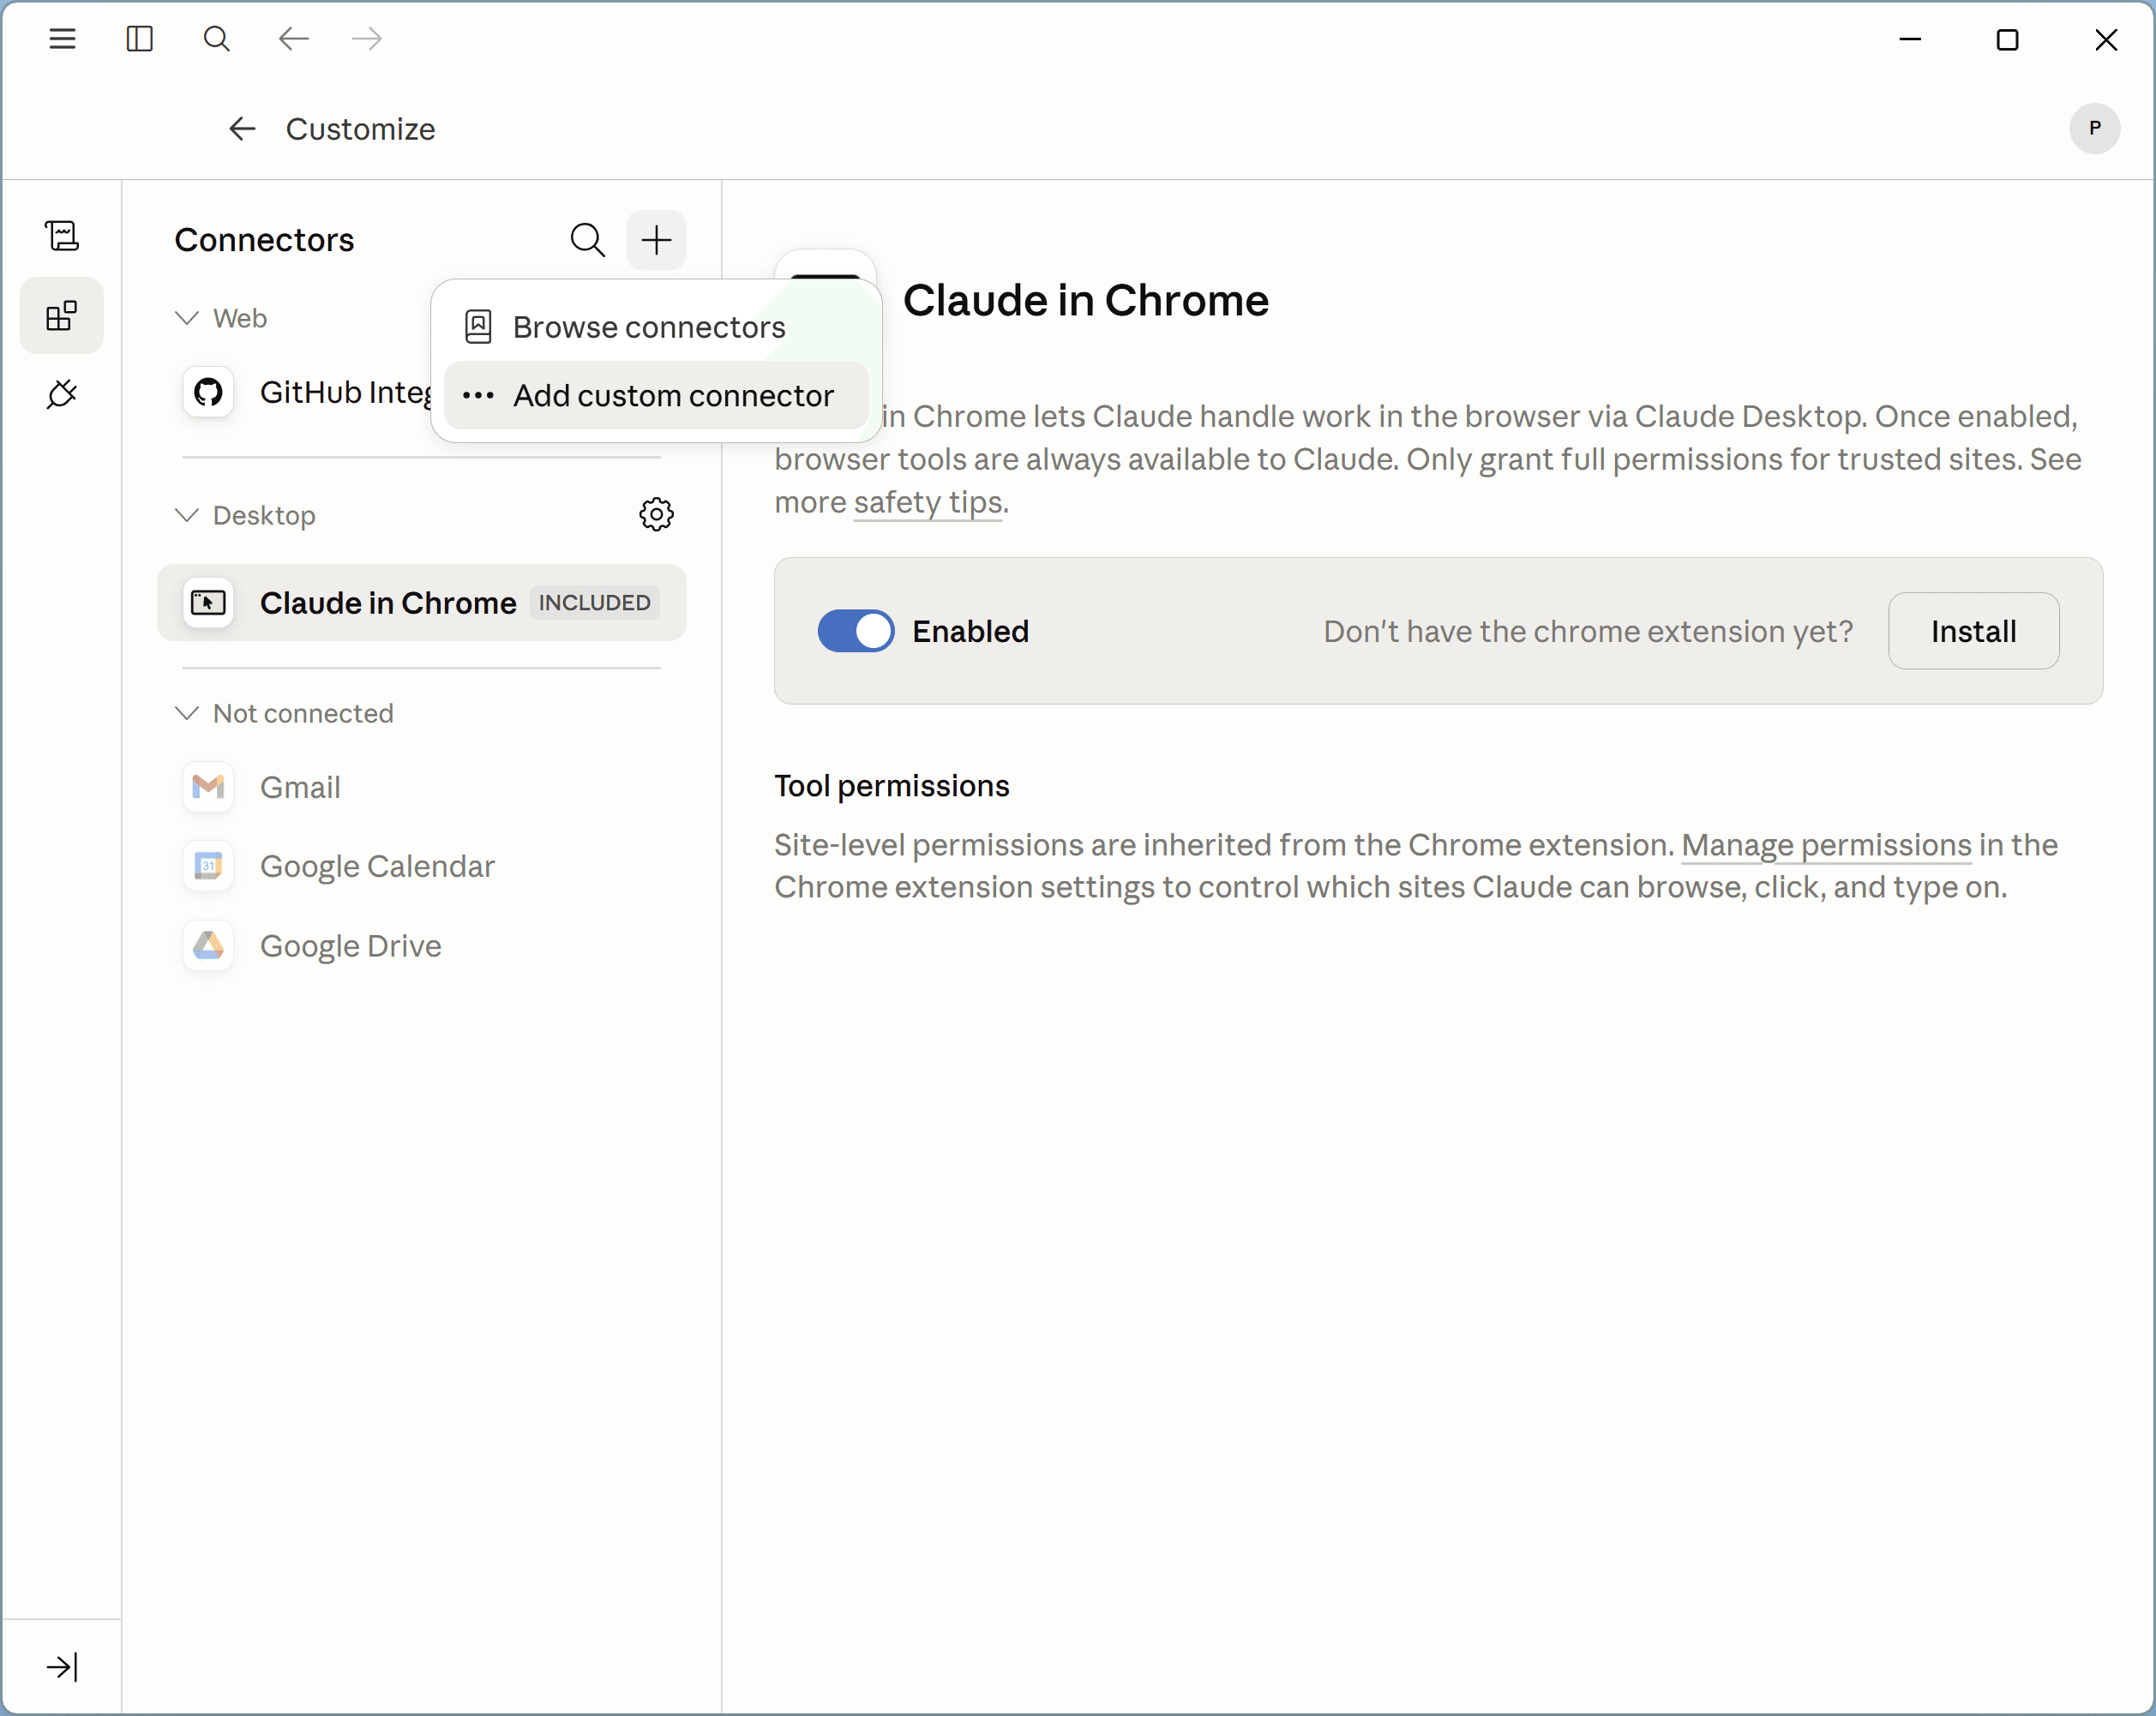
Add a custom connector
In the Connectors panel, click the + button and choose Add custom connector.
- 4
Point it at Hoaster
Give it the name Hoaster and paste your MCP server URL (
https://hoaster.app/api/mcp) into the URL field. Leave the advanced settings empty and click Add.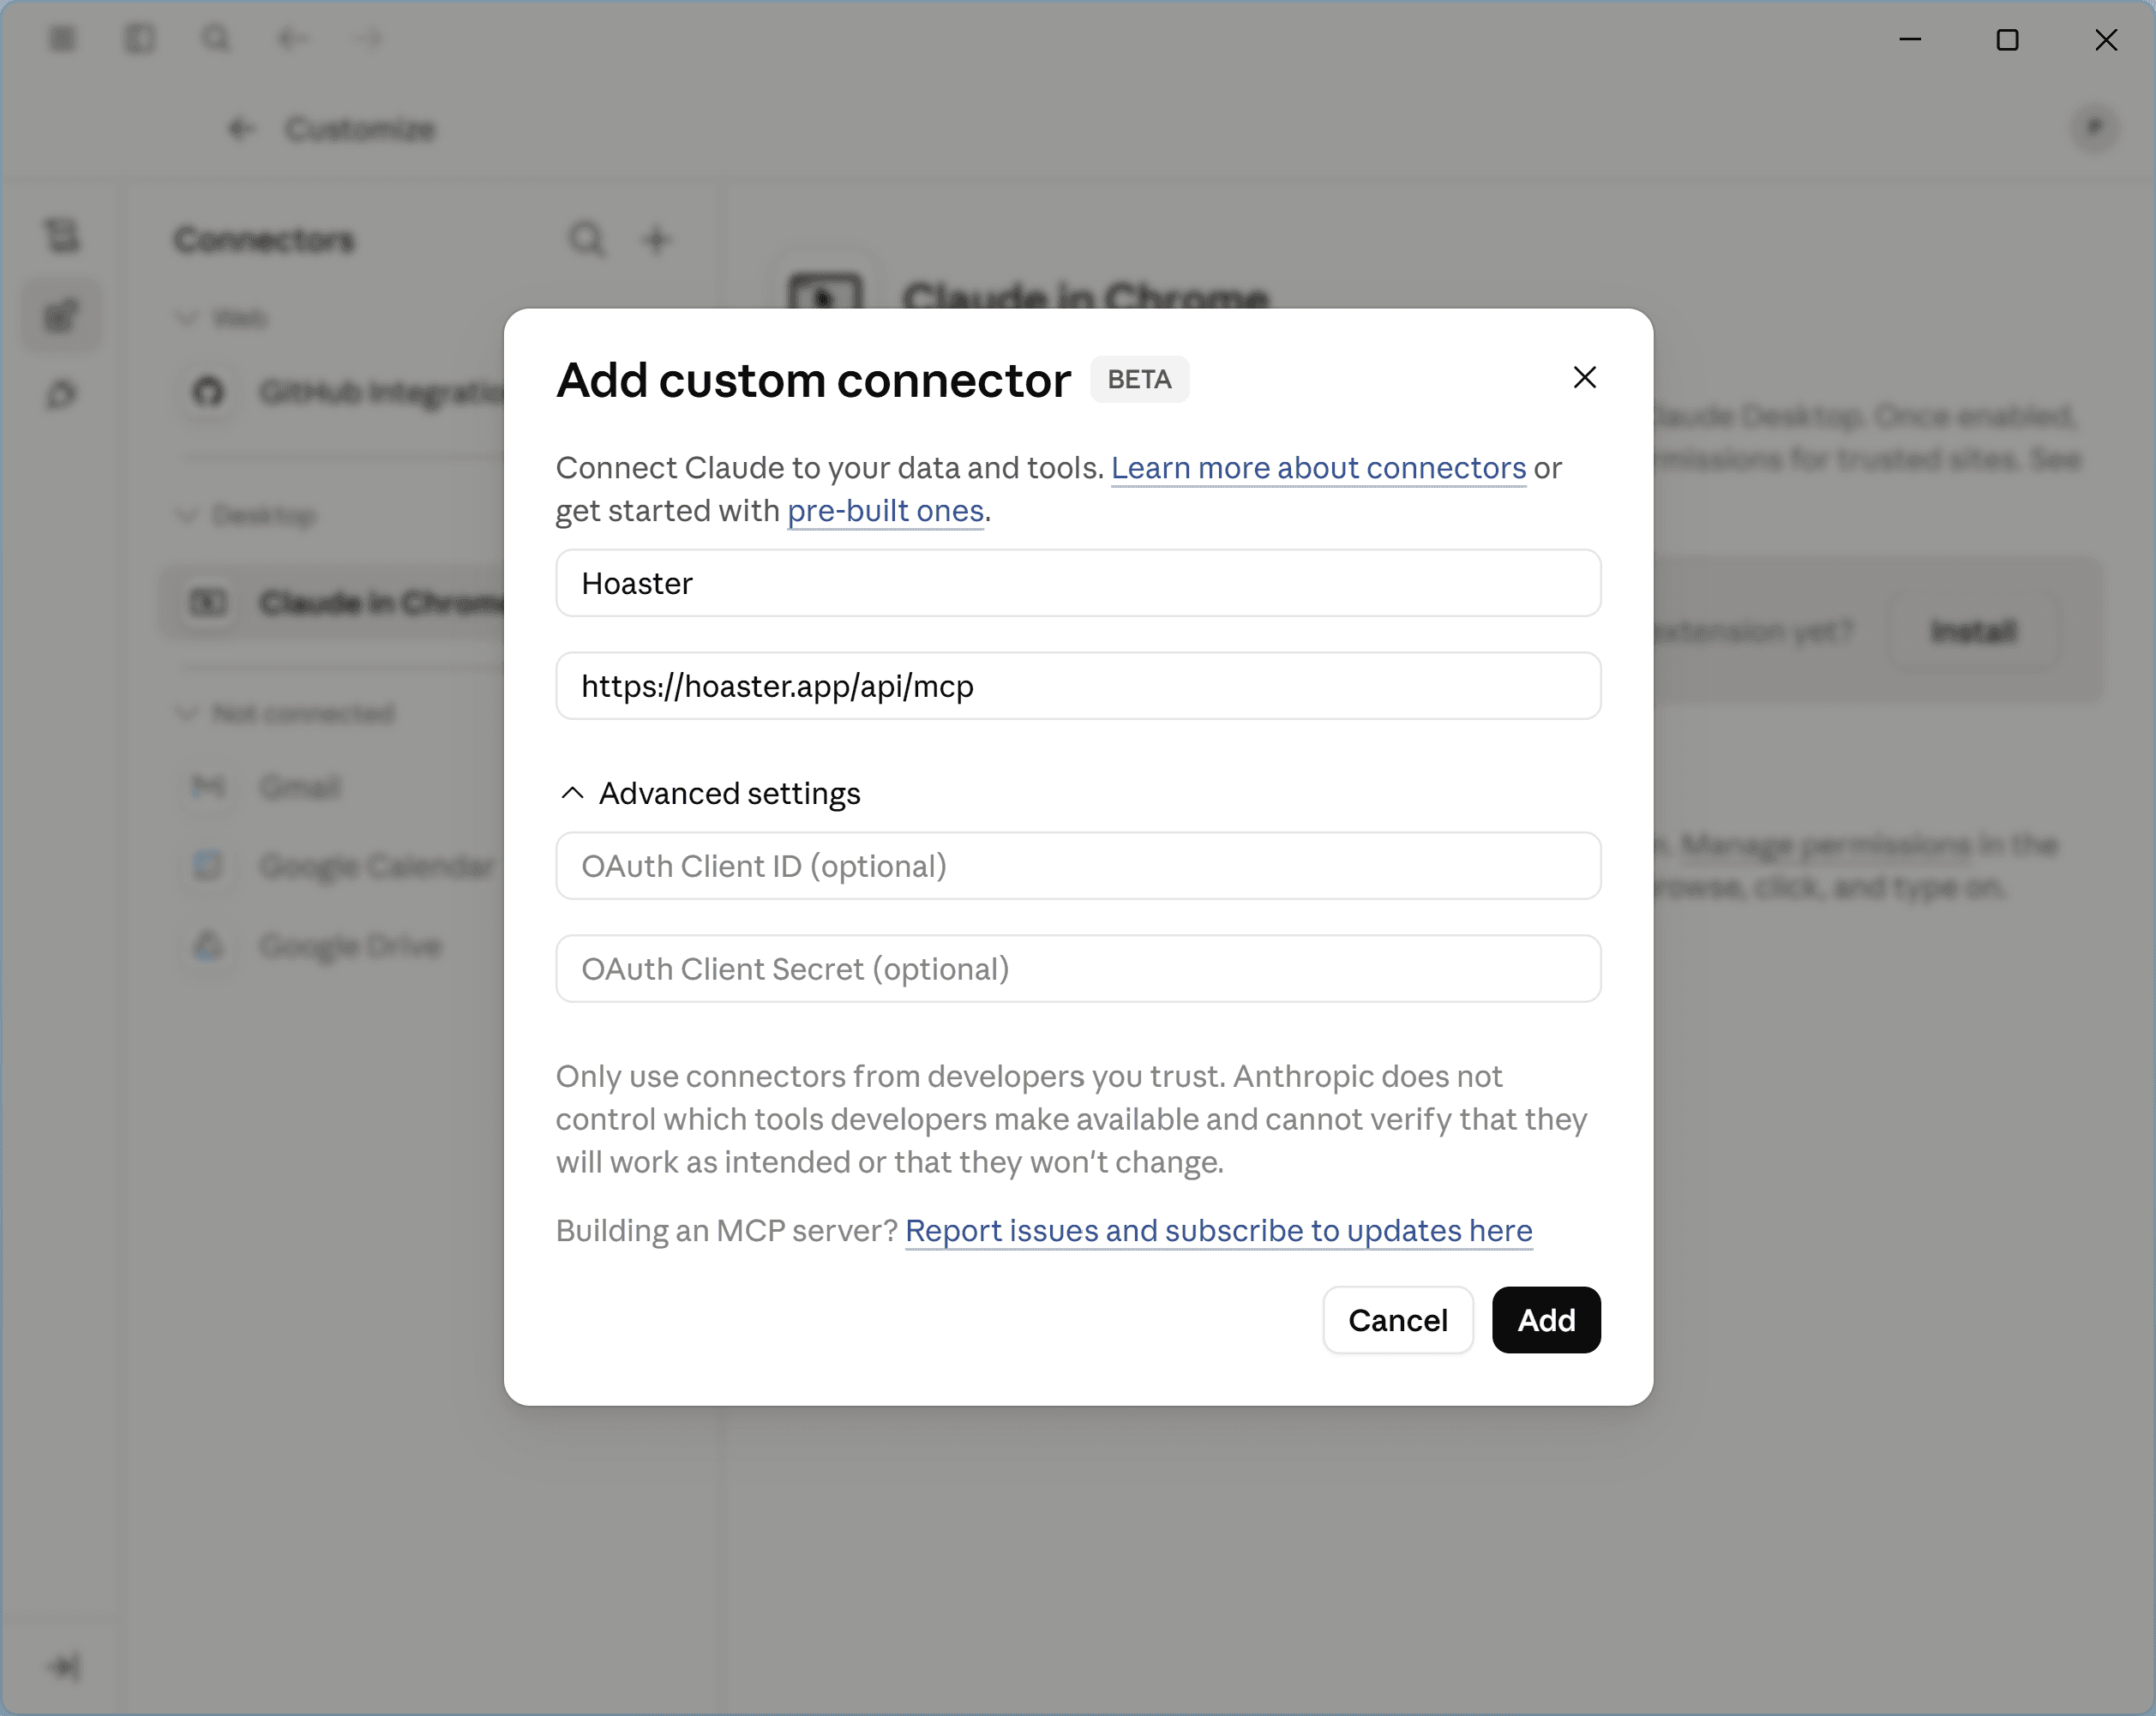
- 5
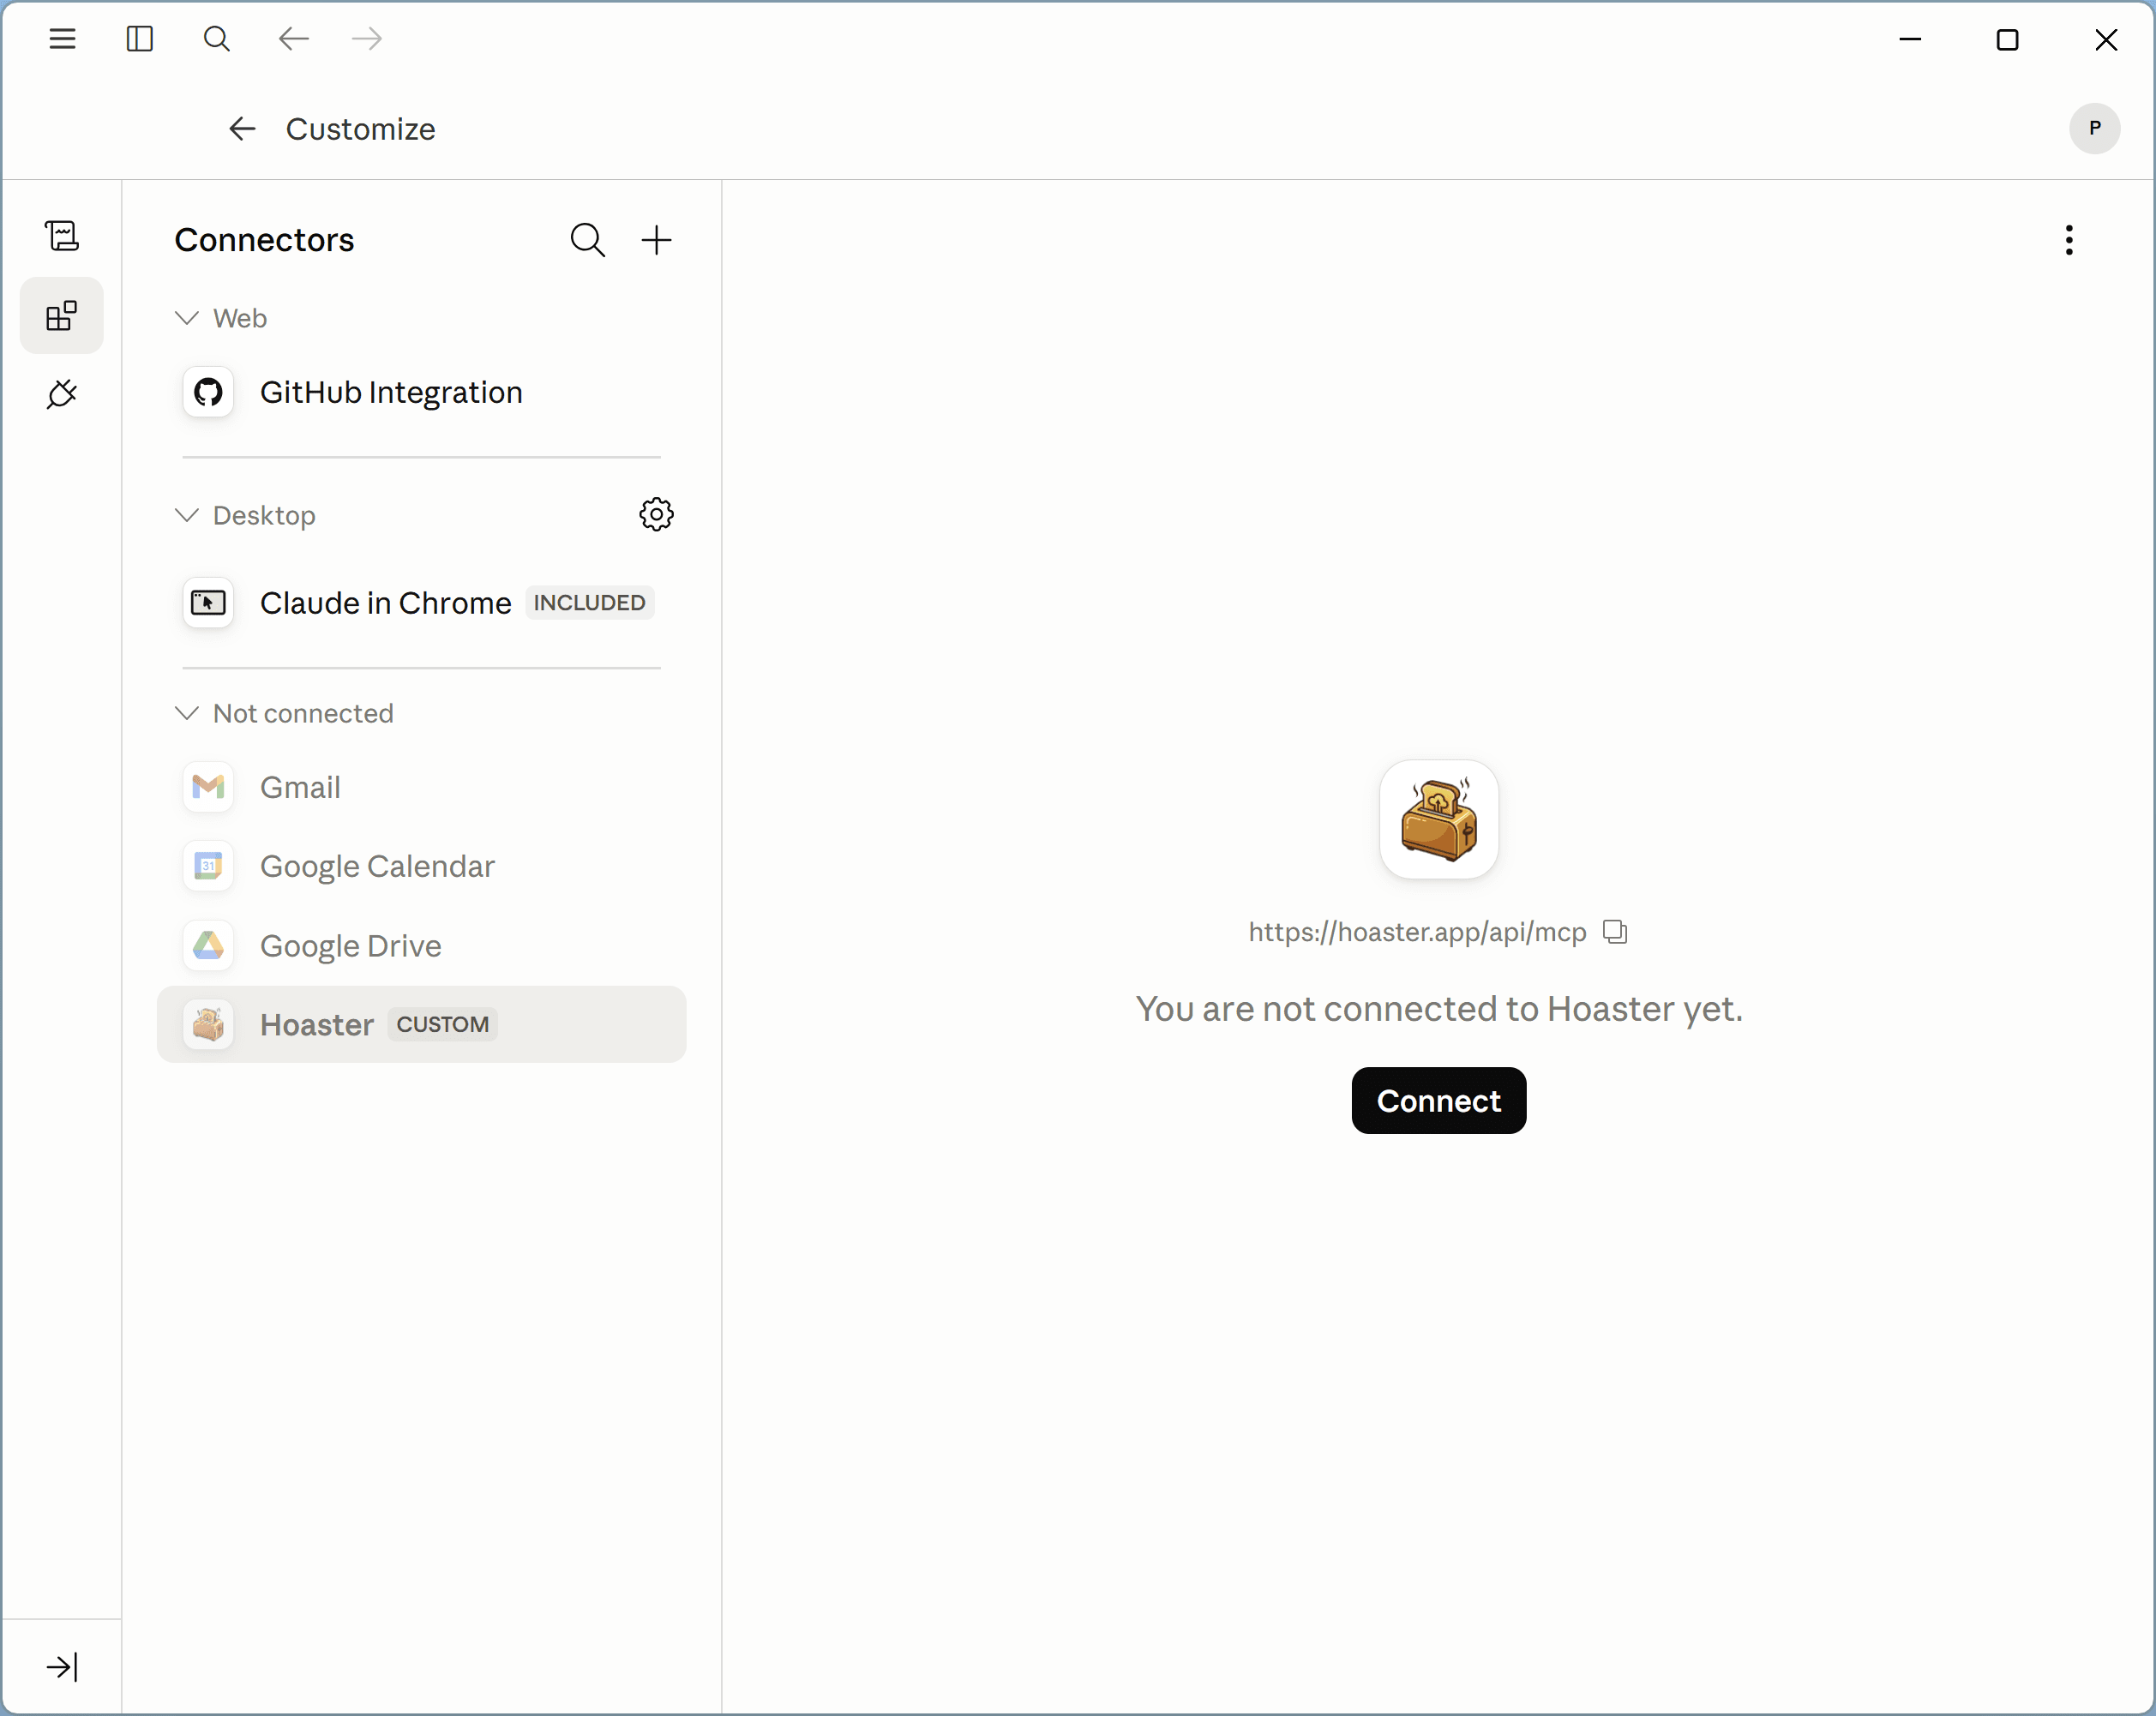
Connect and sign in
Hoaster now appears under your connectors. Open it and click Connect. A browser window opens for you to sign in to Hoaster — approve it and you'll be sent back to Claude. No token to copy: Hoaster uses OAuth 2.1, so the sign-in stays in your browser.
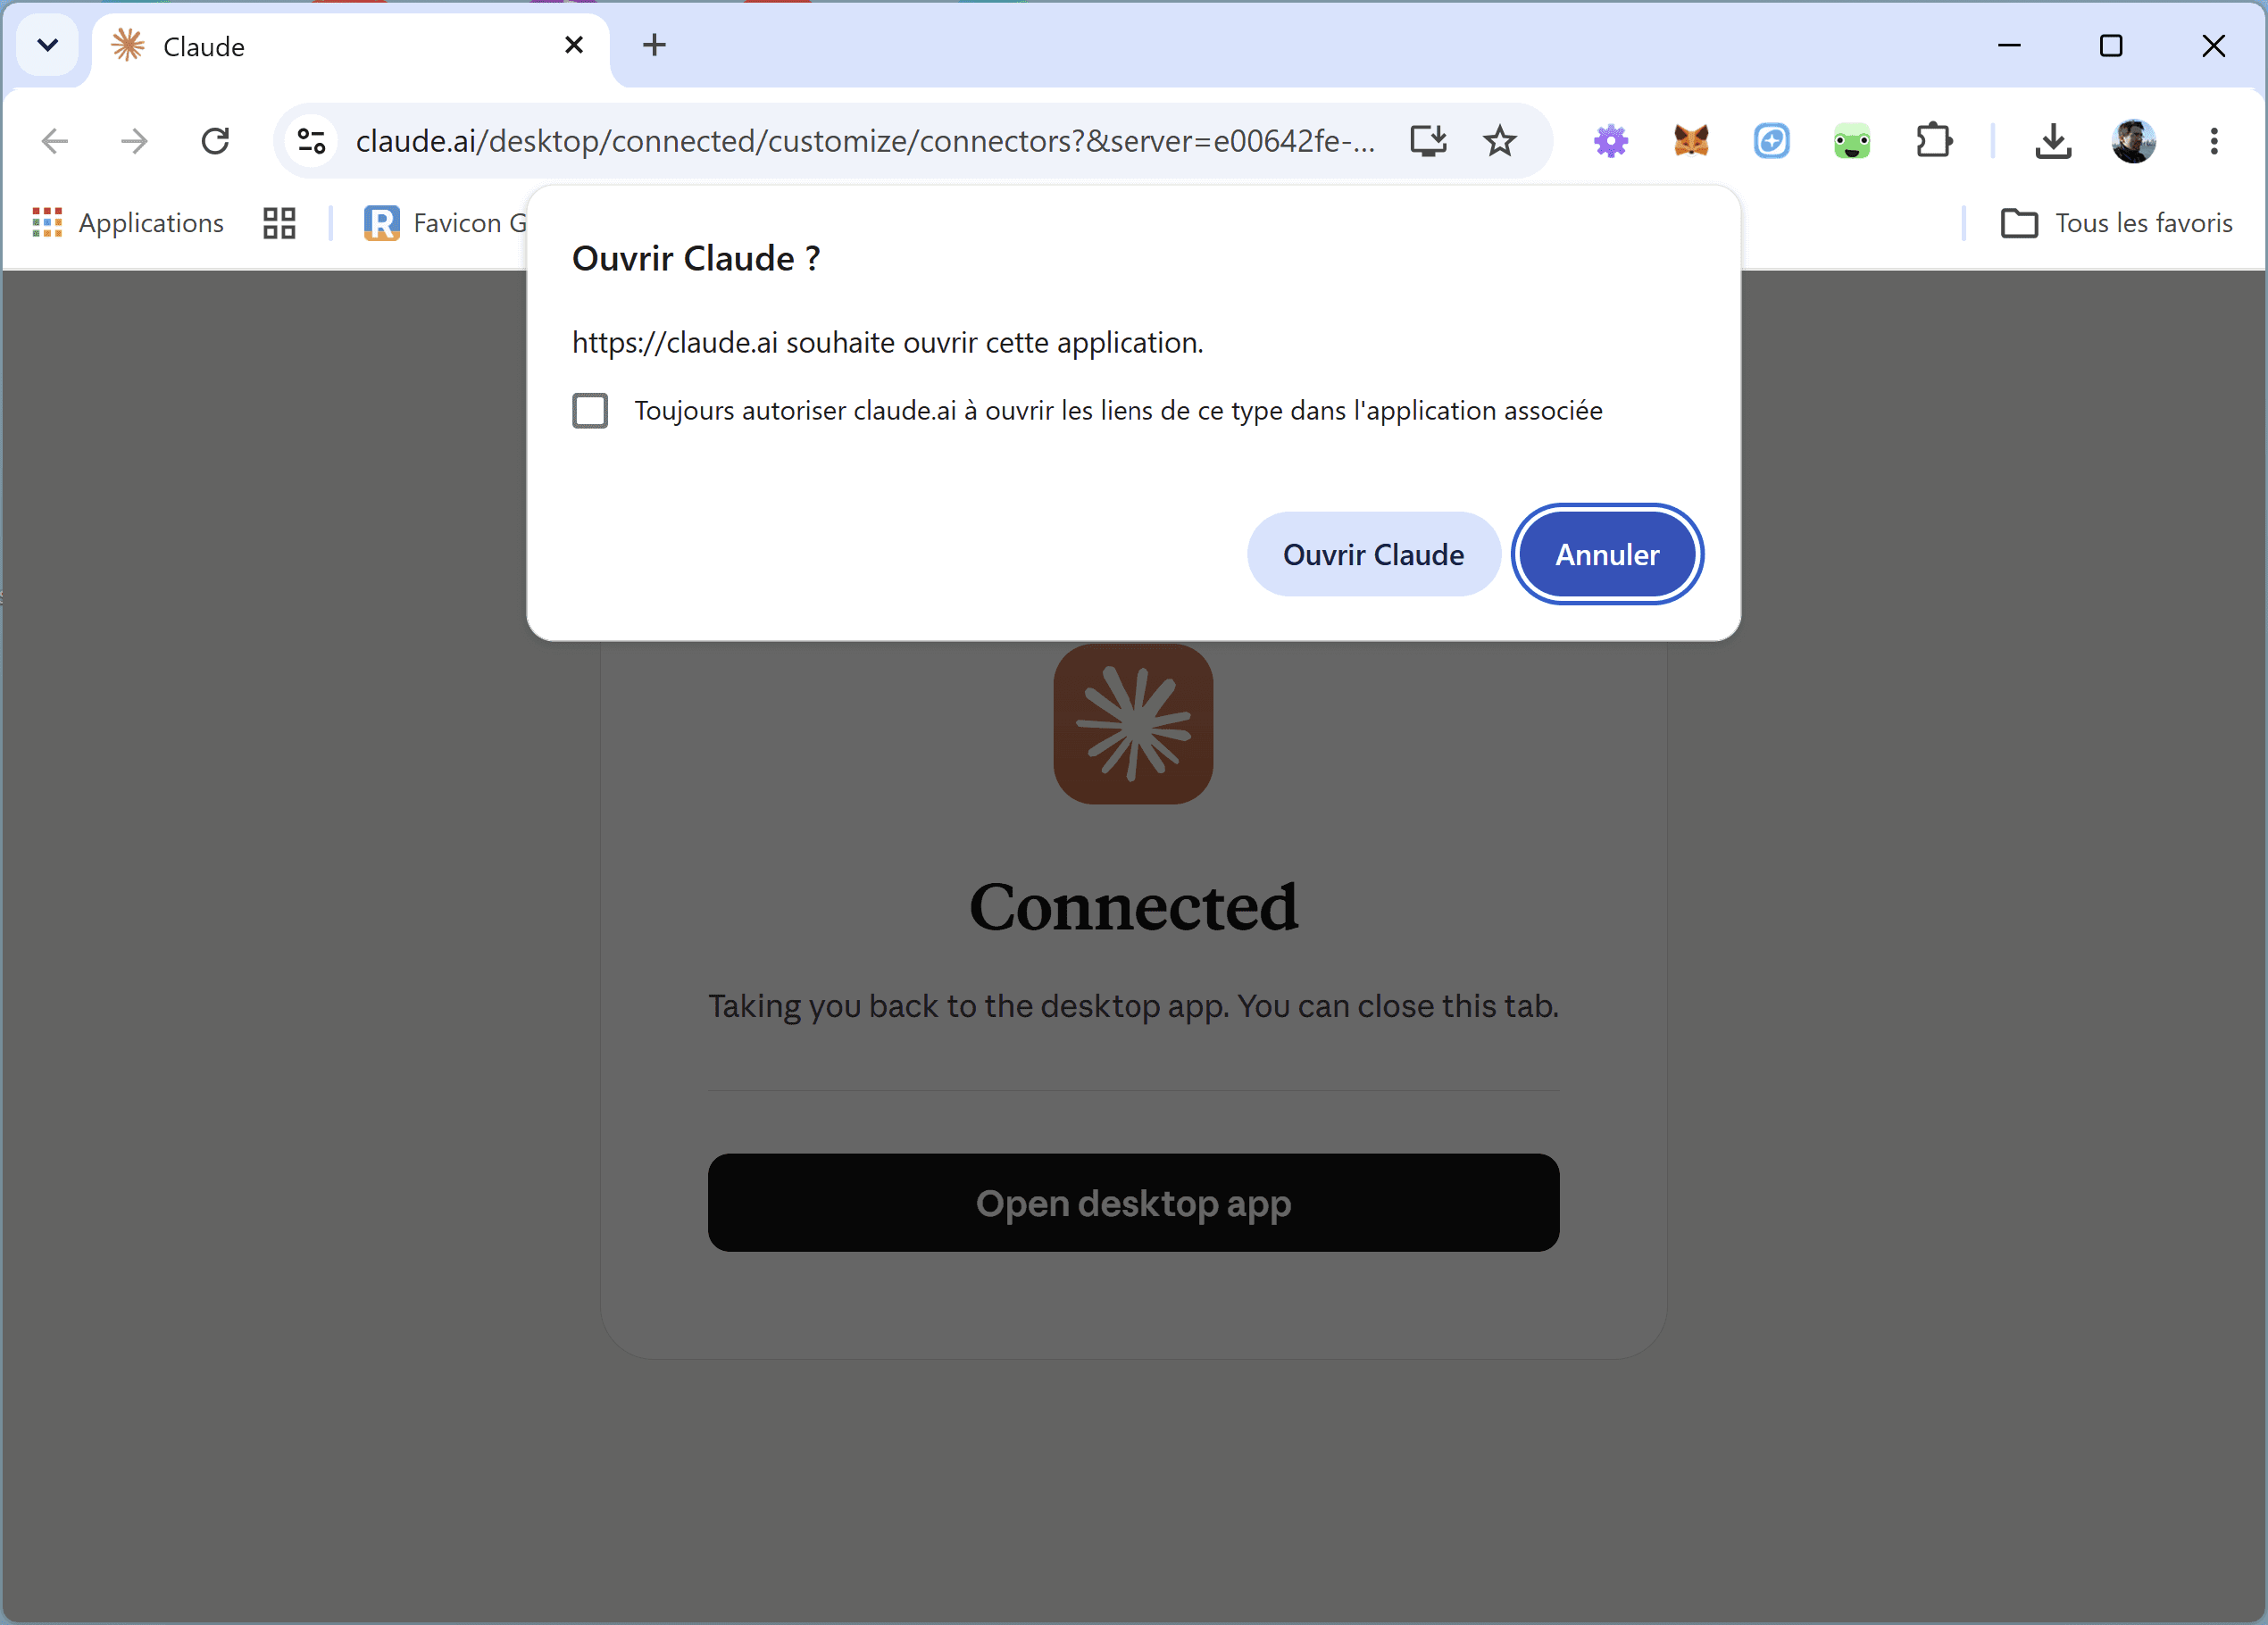
- 6
You're connected
Claude confirms Connected to Hoaster and lists the tools it can now use — including
publish. That's it, Hoaster is ready.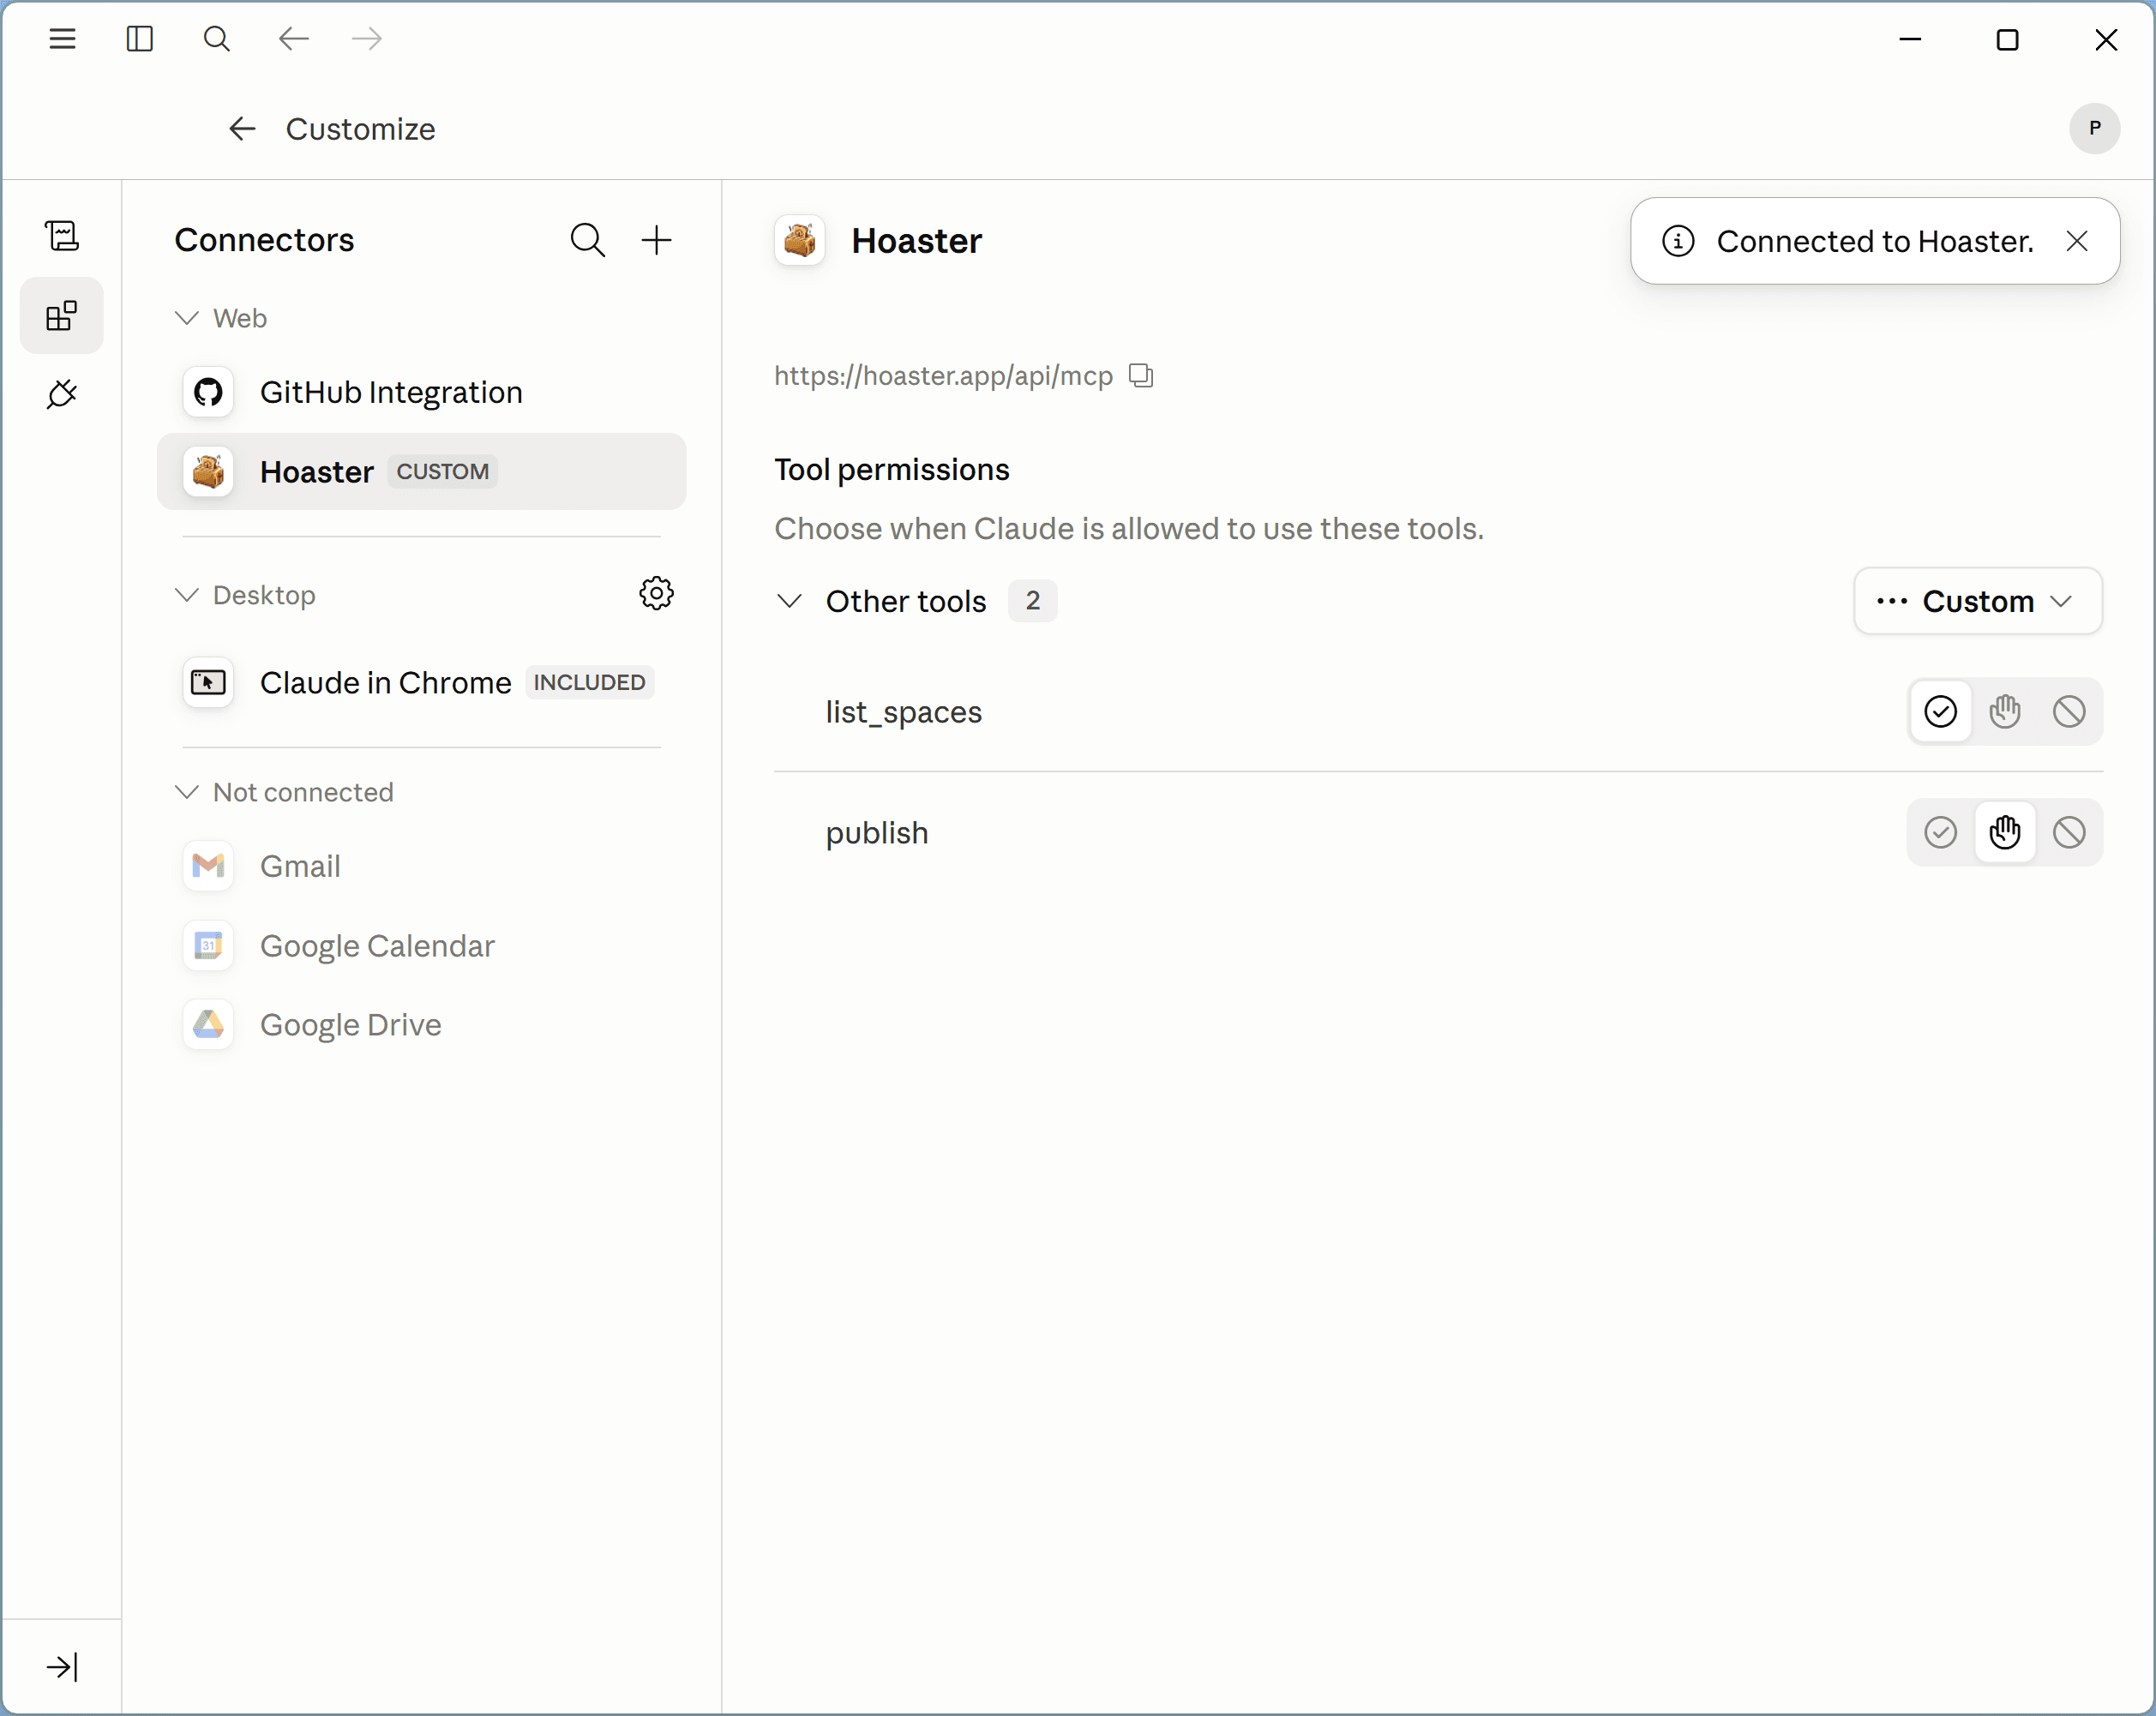
Check that it works
Start a new conversation and ask Claude to publish something. You never have to mention Hoaster by name — it has the tool now.
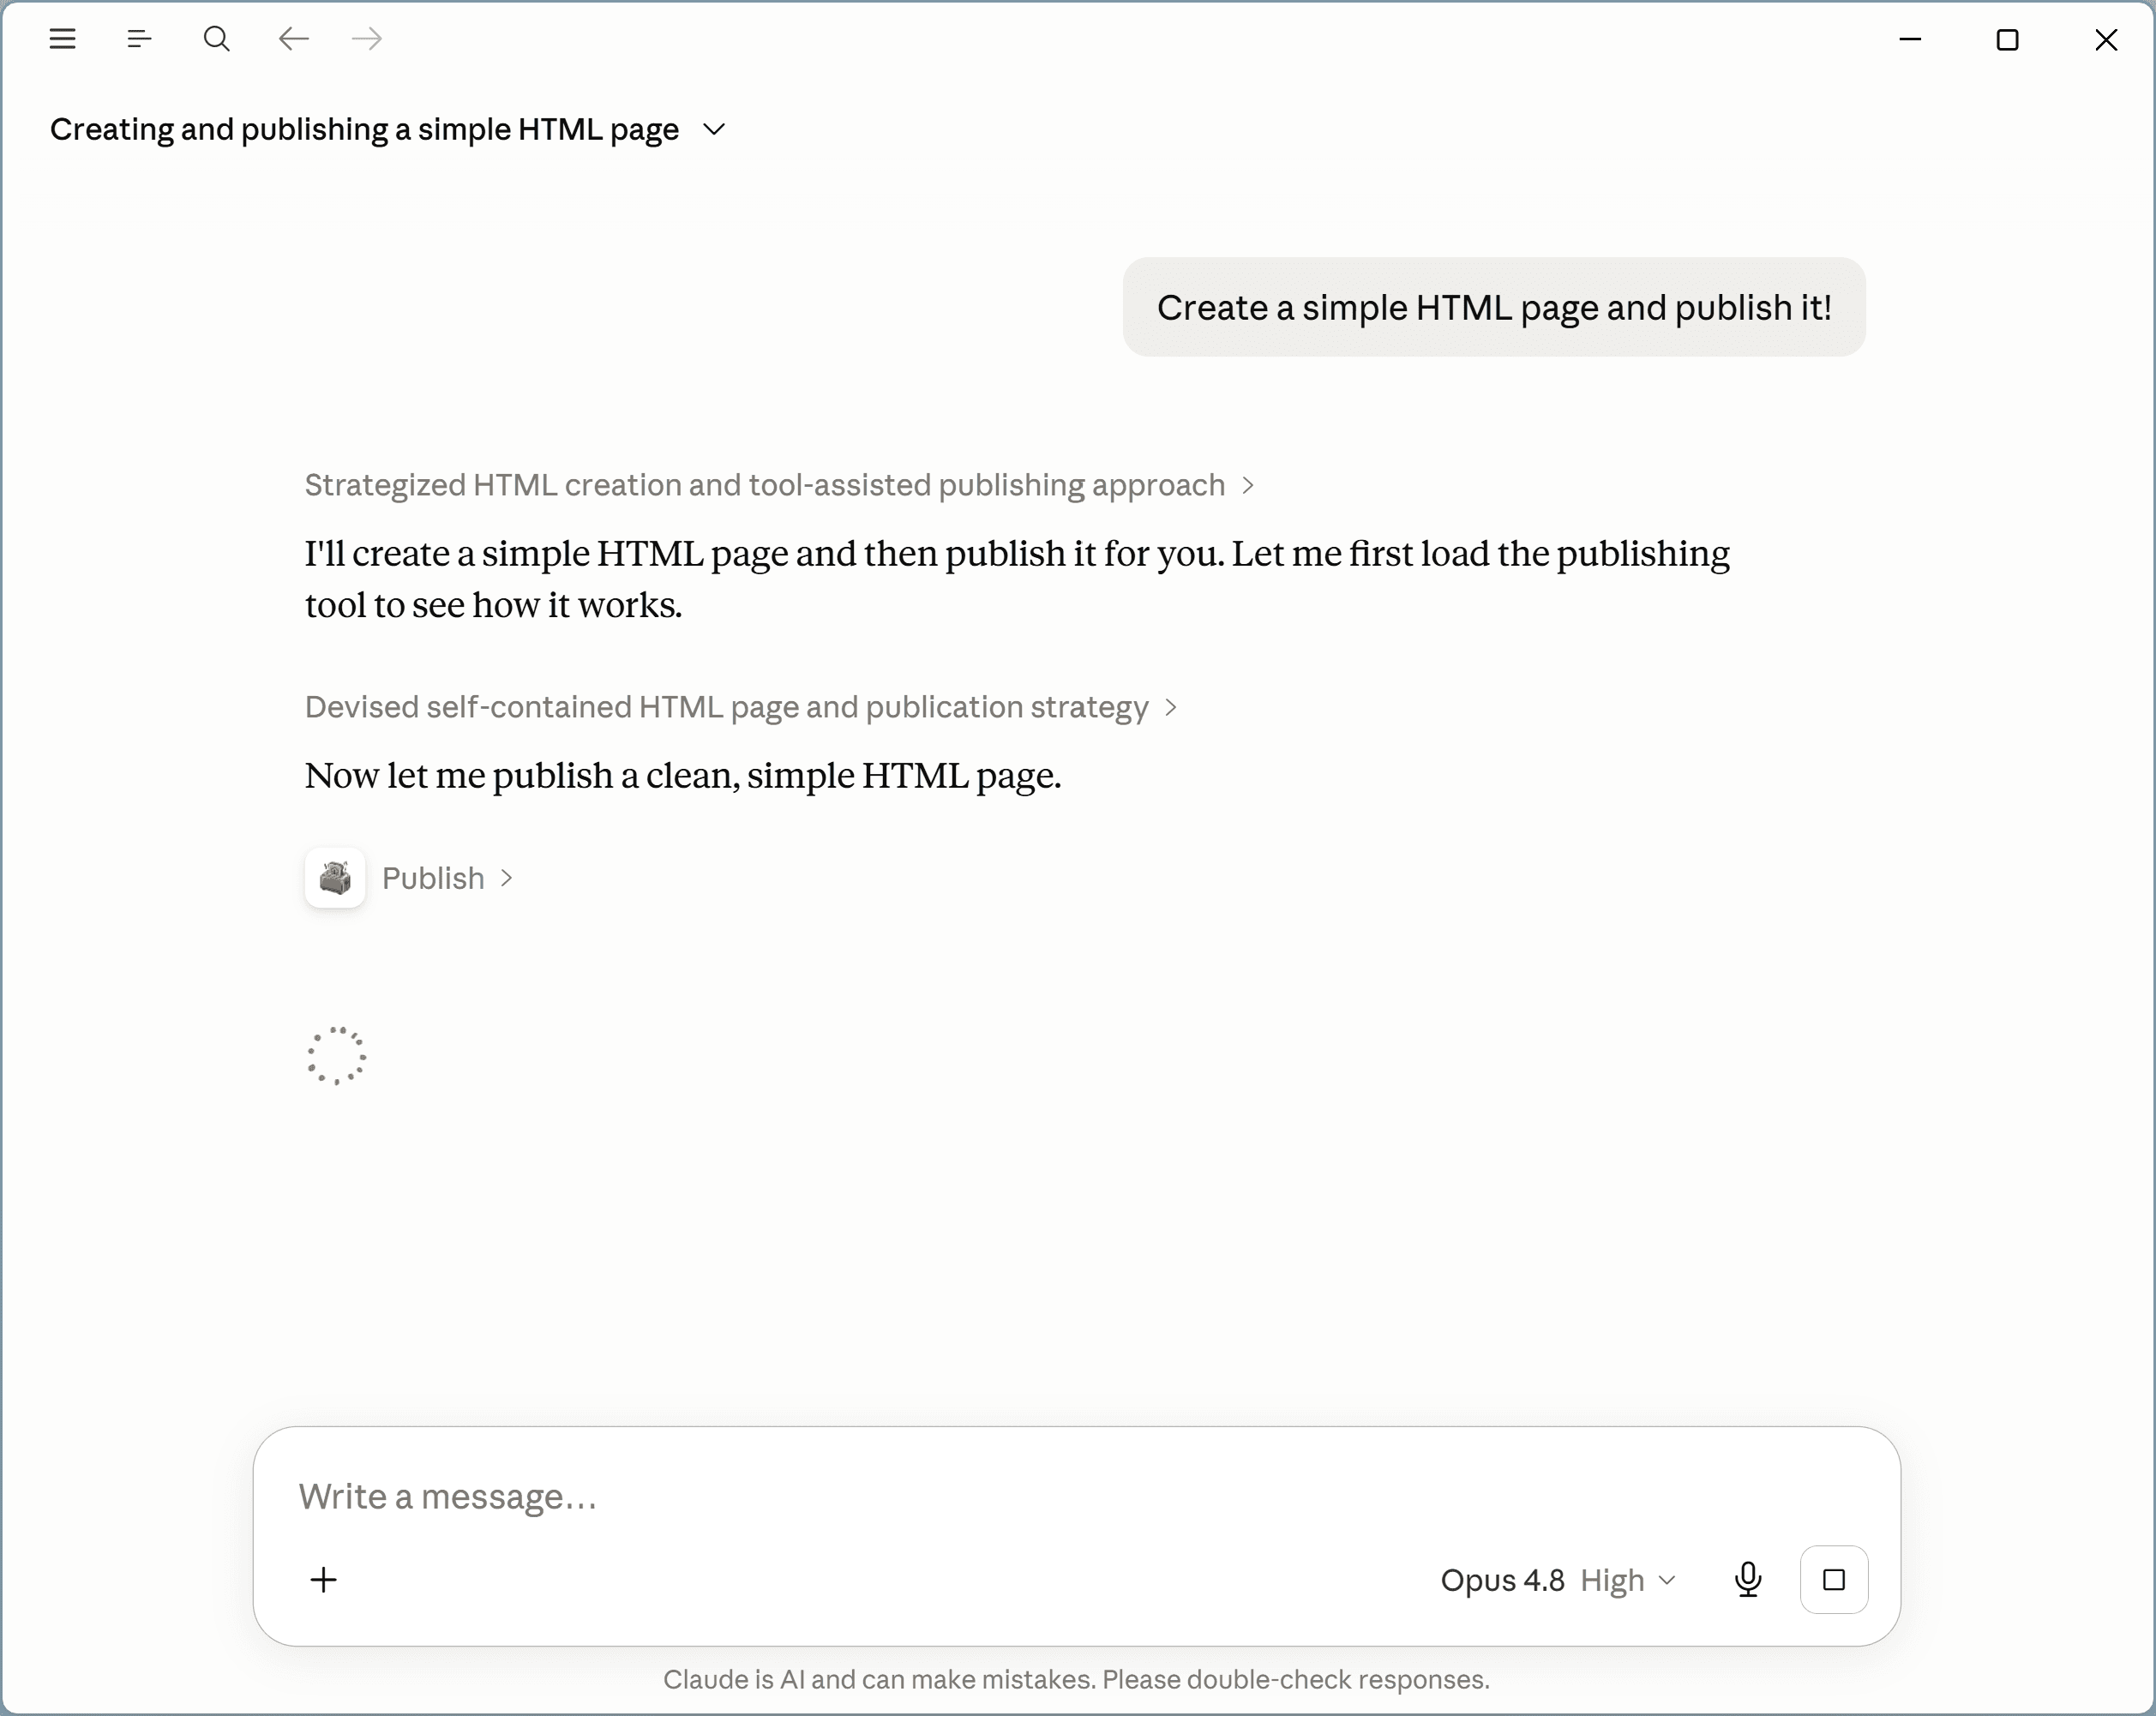
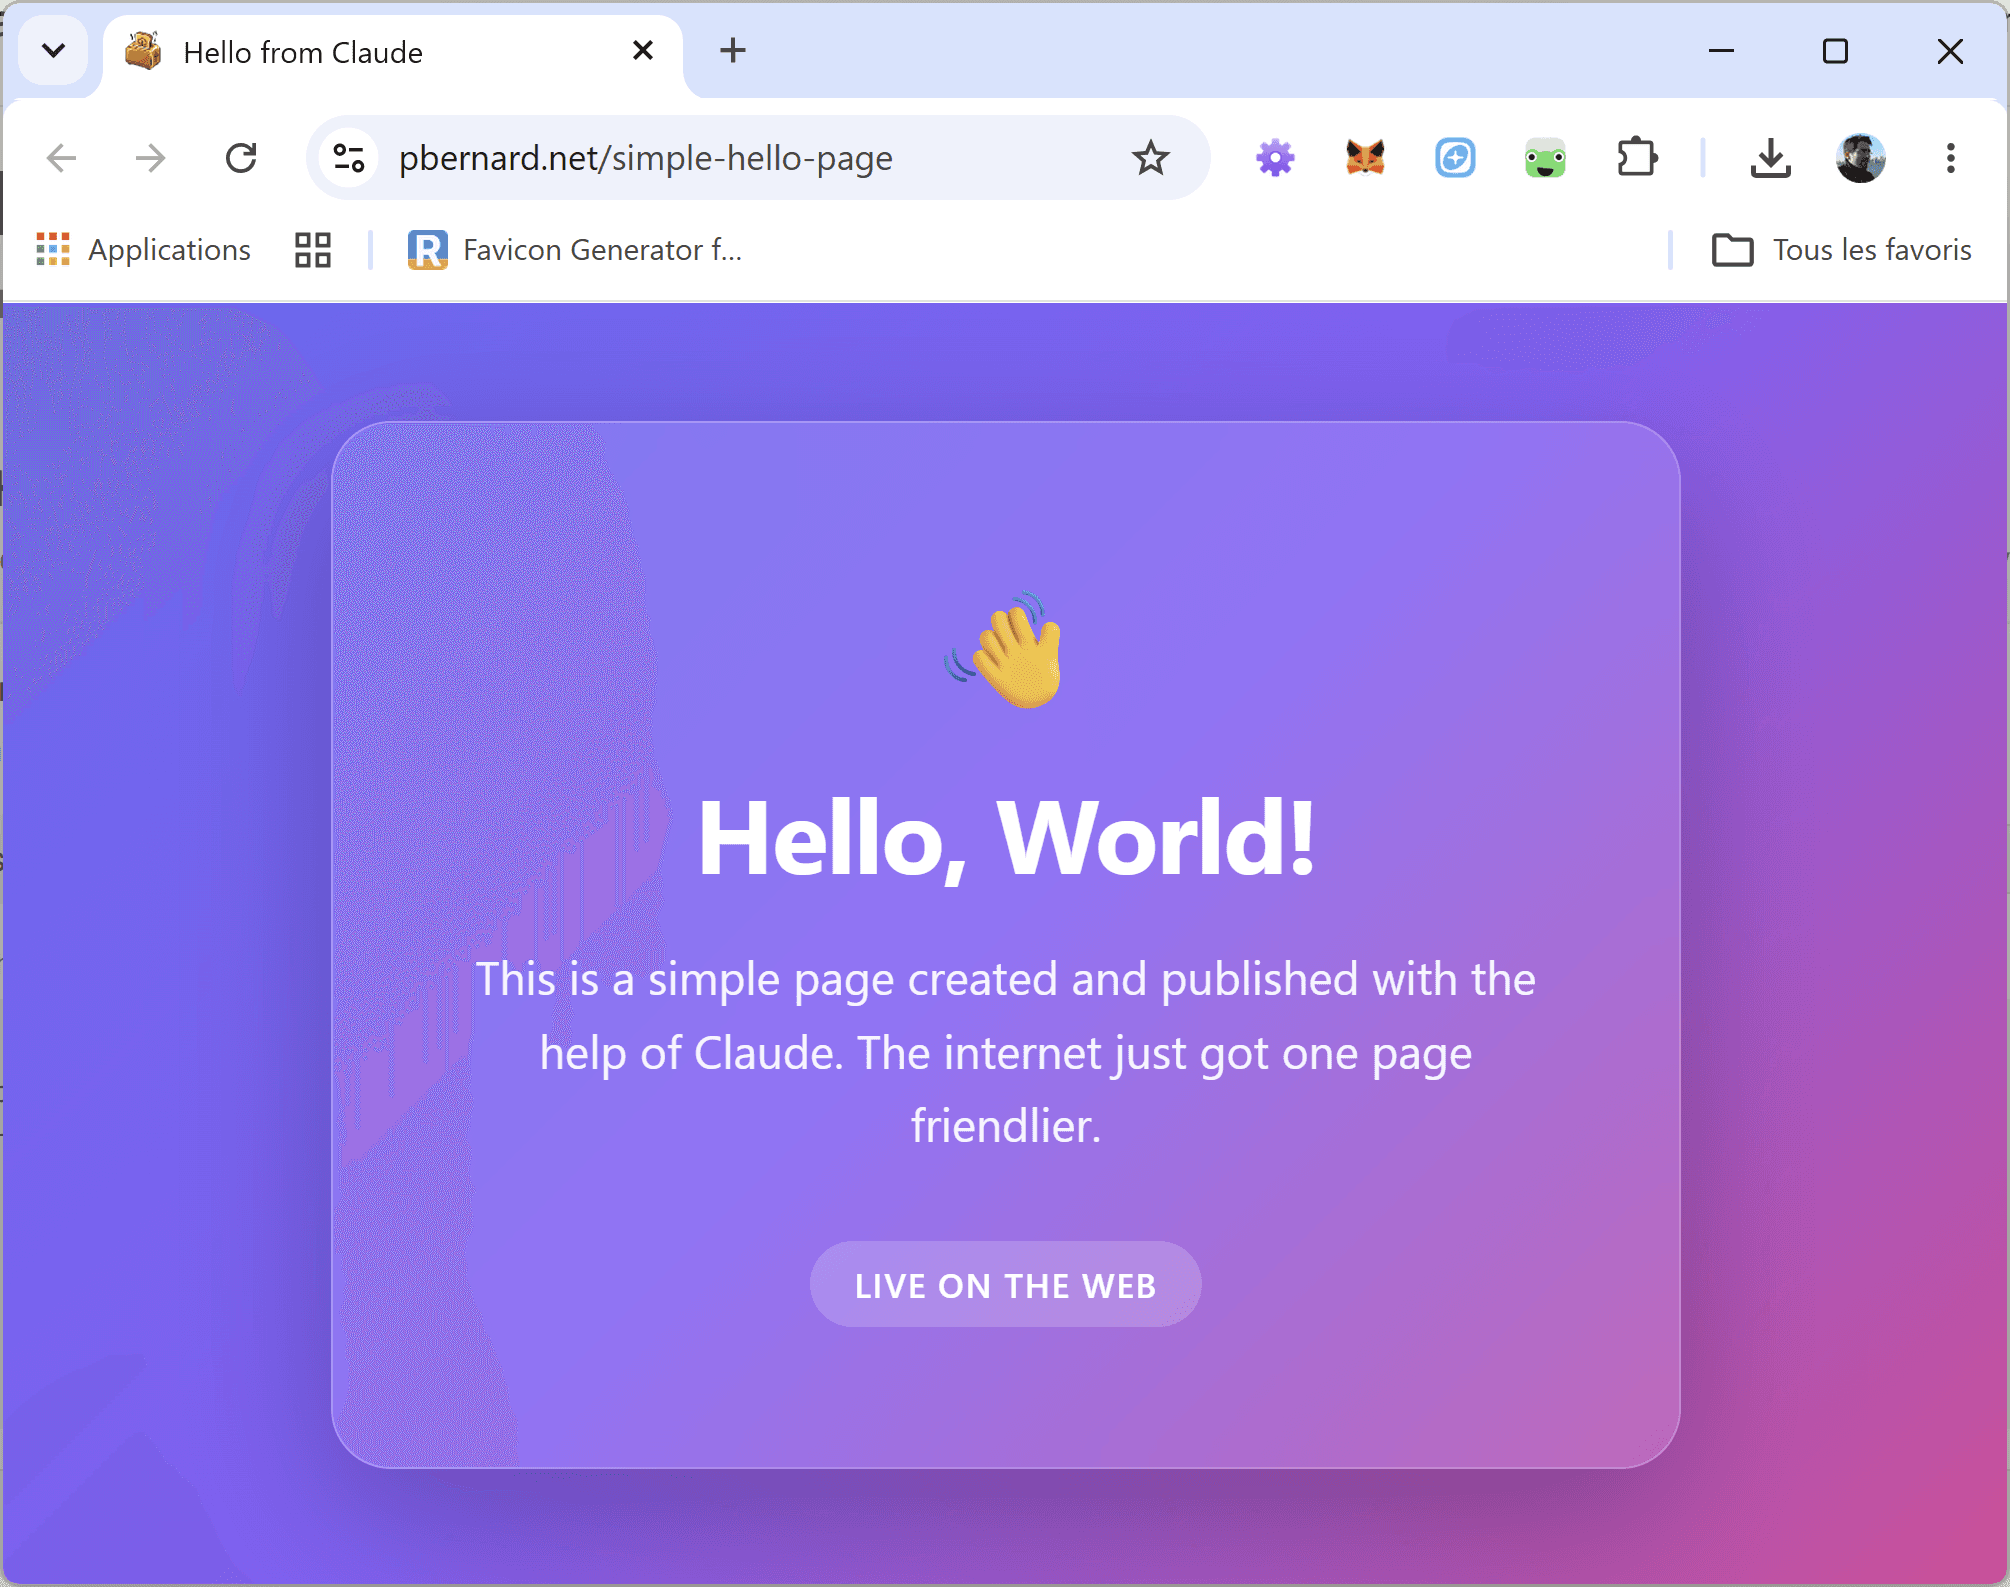
Claude hands back a live hoaster.page URL once the page is online.
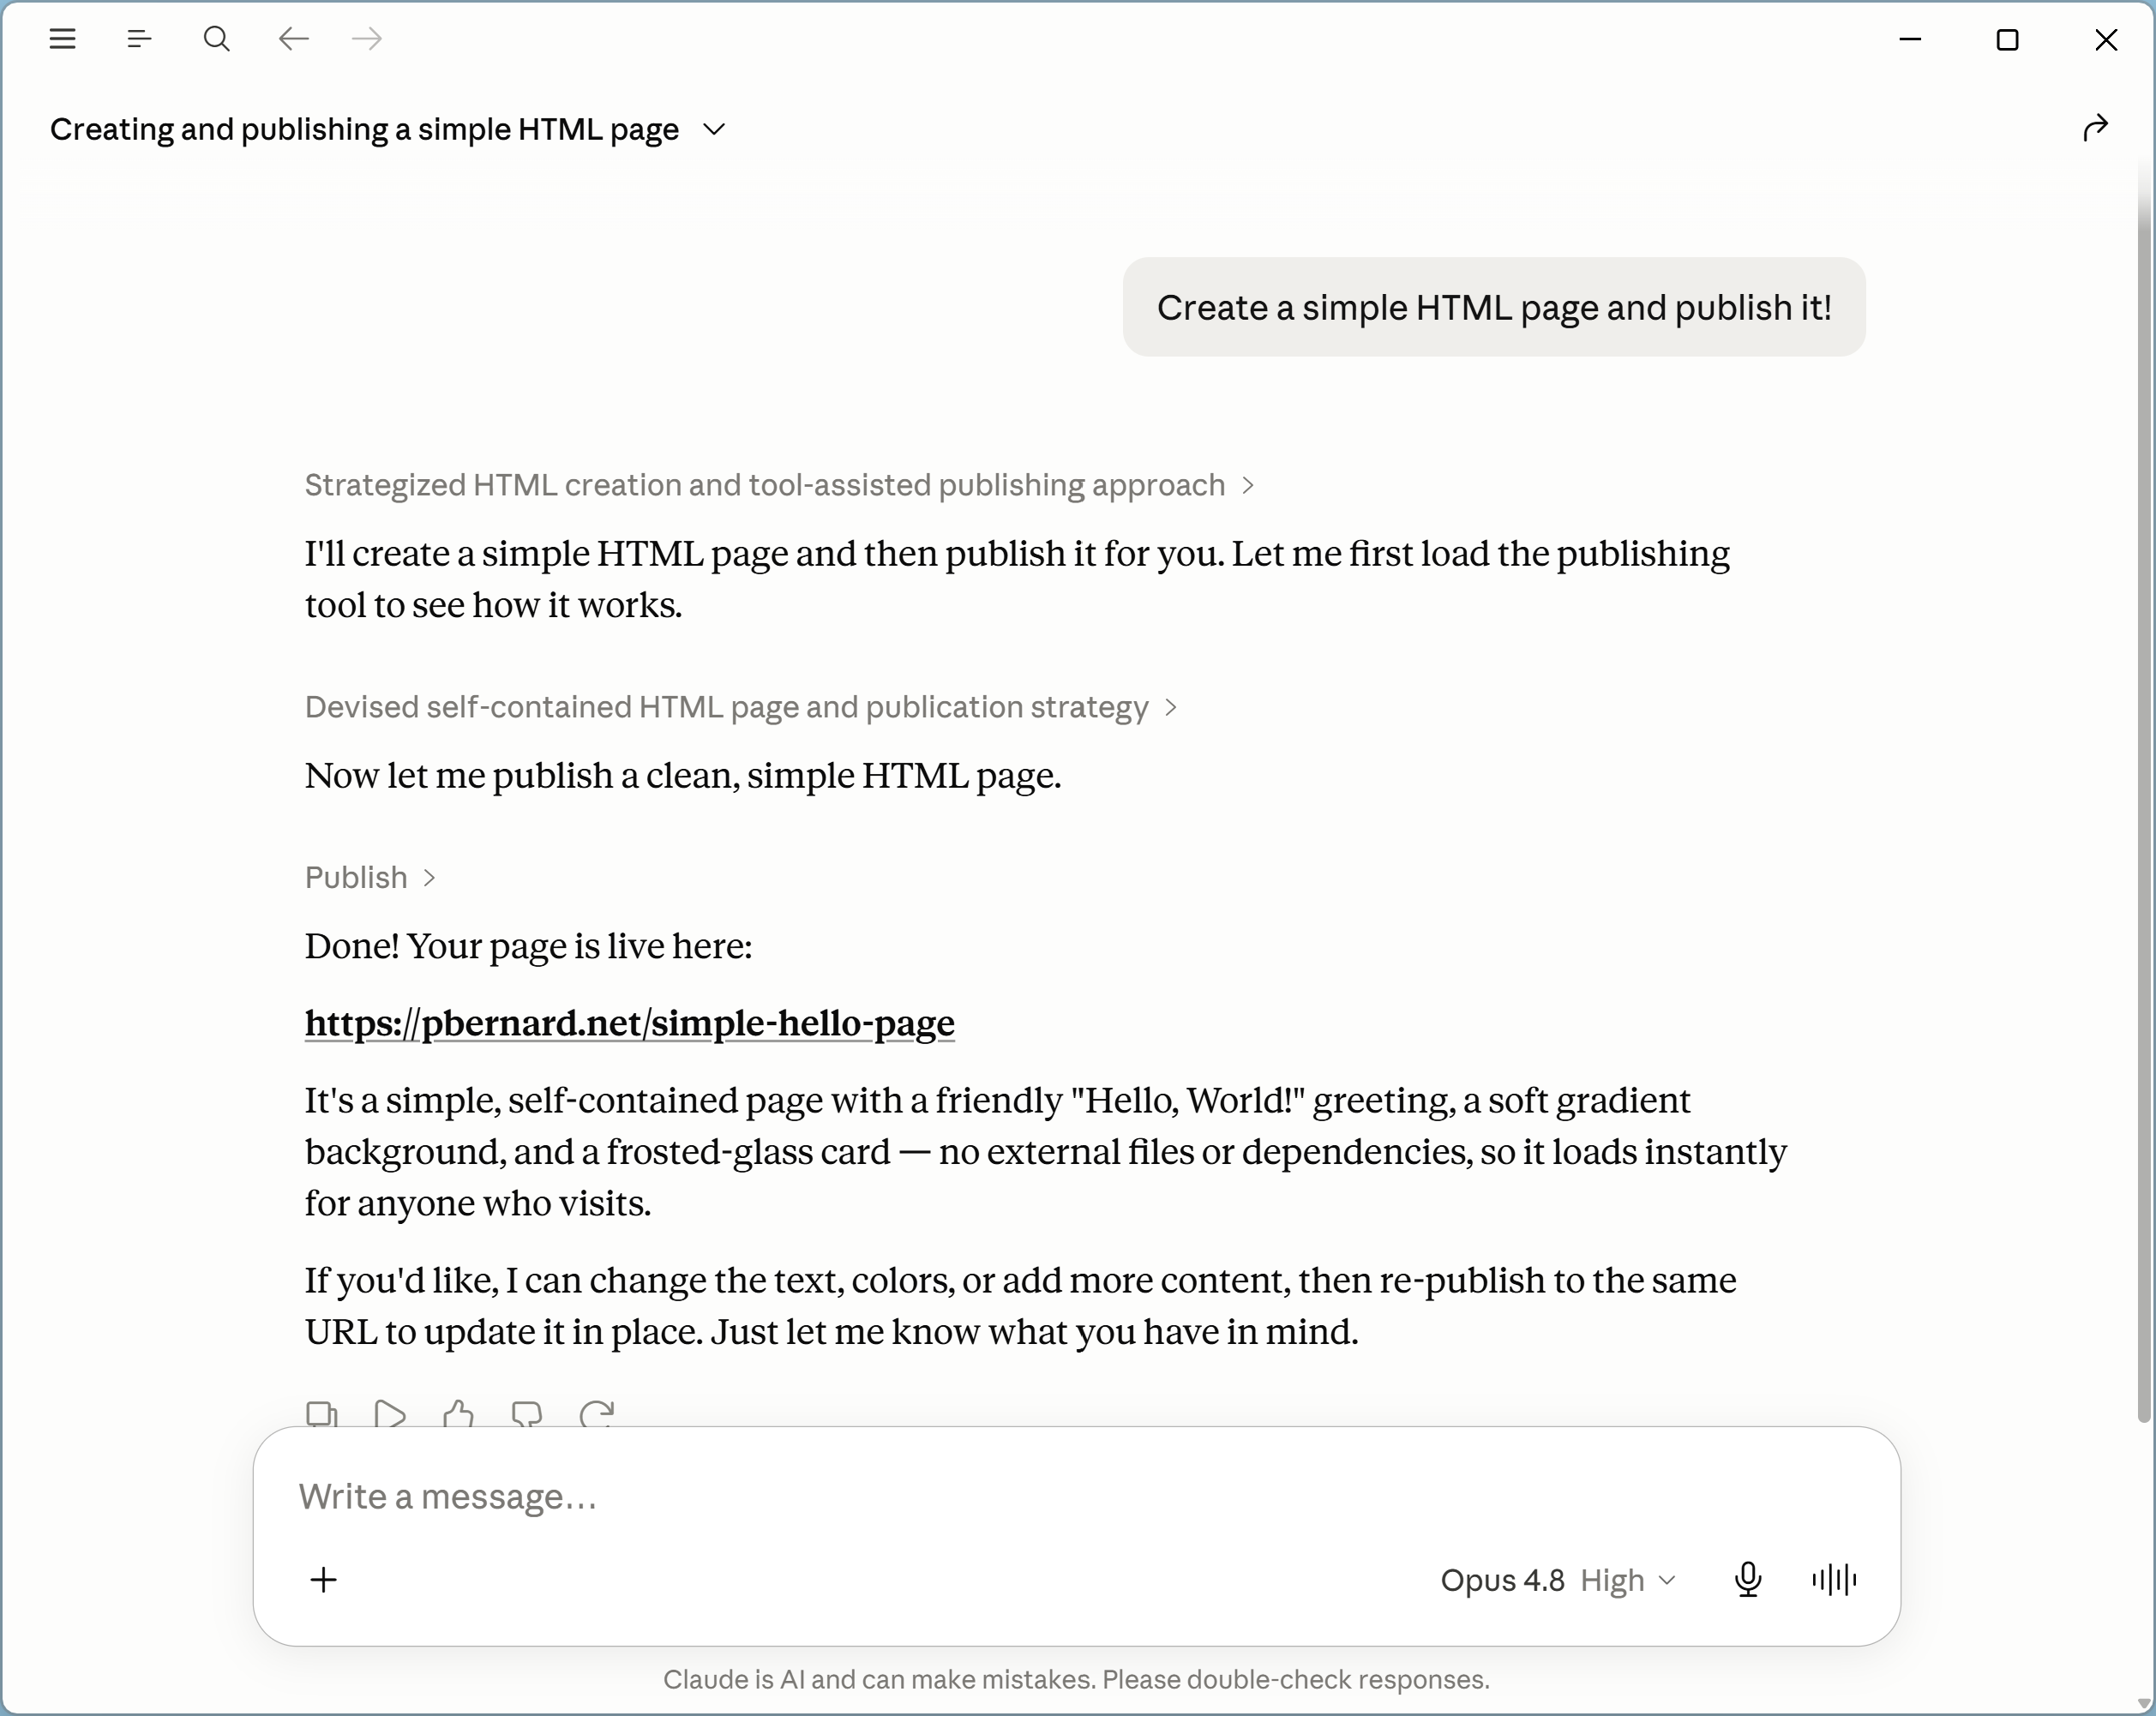
Open the link and your page is live on the web — and it shows up in your dashboard.